

An outdoor kitchen for barbecue works best when it is planned around the way you cook on a weekend: a long cook with a grill or smoker, a few side dishes, and a crowd that wants to stay close. This guide covers where to put the kitchen, what to build it from, which utilities and appliances earn their space, and which tools and comforts make it pleasant to use. Start with the layout and the materials, because those are the hardest things to change later.
Choose the Right Spot and Plan the Layout
Put the kitchen close to your indoor kitchen. You will carry plates, marinades, and tools back and forth all day, and a short walk with a clear path makes the whole cook easier. A spot with some shelter from rain and strong sun helps too, though a grill needs open air around it, so never tuck one under a low roof or against a wall.
Check the wind before you commit. Watch which way the breeze usually blows across your yard and place the grill or smoker so smoke drifts away from open windows, seating, and your neighbours. Follow your grill manufacturer’s clearance instructions and your local building codes for distance from walls, fences, and overhangs.
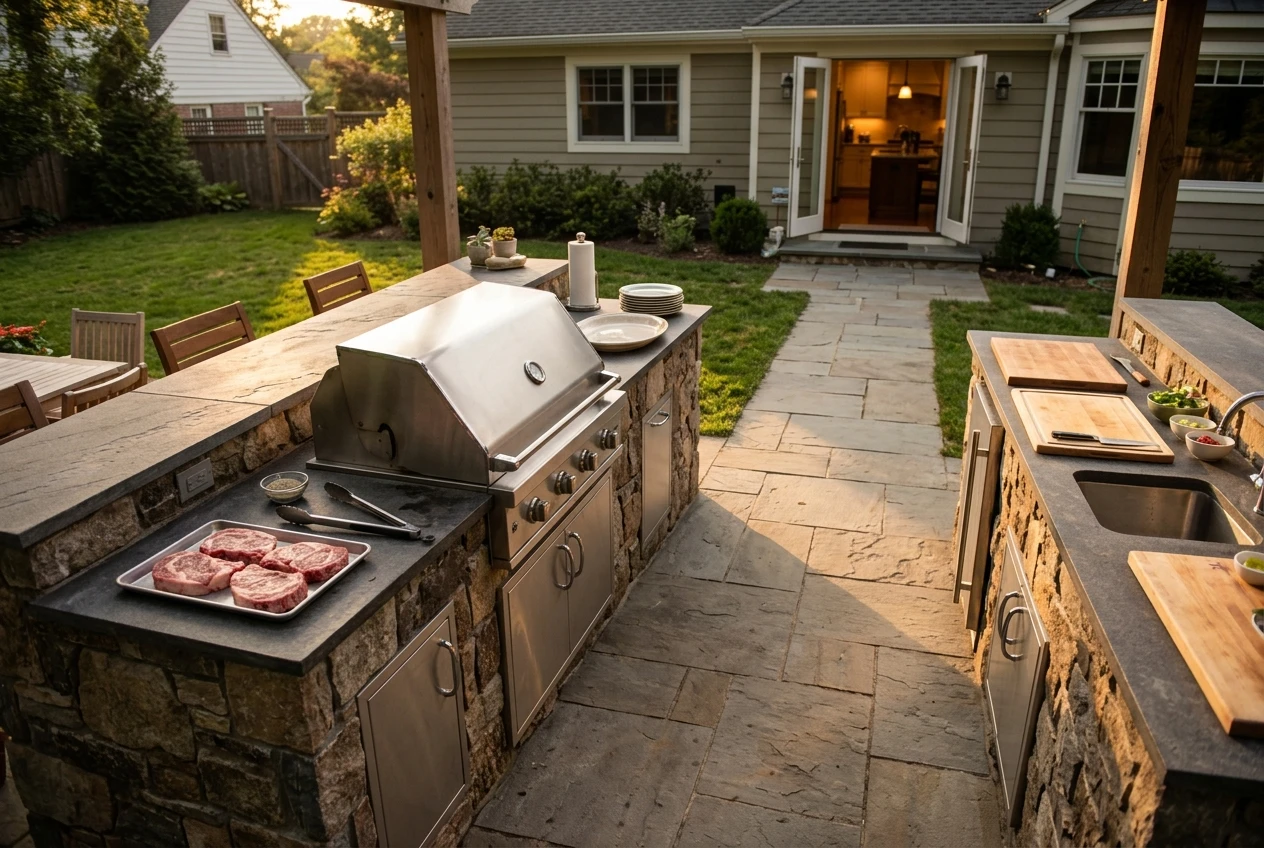
Build the layout around the grill. Everything else goes where it supports the cook:
-
Counter space on both sides of the grill. You need a place to set down a tray of raw meat and another for the finished food.
-
A separate prep zone. Keeping raw meat away from vegetables and serving dishes is a basic food safety habit, and a dedicated area makes it easy.
-
A surface that wipes clean. Smooth, sealed counters are much easier to sanitize than rough or porous ones.
-
Storage within arm’s reach. Tools, seasoning, foil, and towels should live near the grill so you never leave it unattended to hunt for something.
If your space is limited, the same principles apply on a smaller scale. Our guide to small patio outdoor kitchen ideas shows how to fit a working cook zone into a tight footprint.
Pick Materials That Hold Up Outdoors
Outdoor surfaces face rain, sun, grease, and temperature swings, so choose materials that tolerate all of them. Stainless steel, natural stone, and concrete are common choices for good reason.
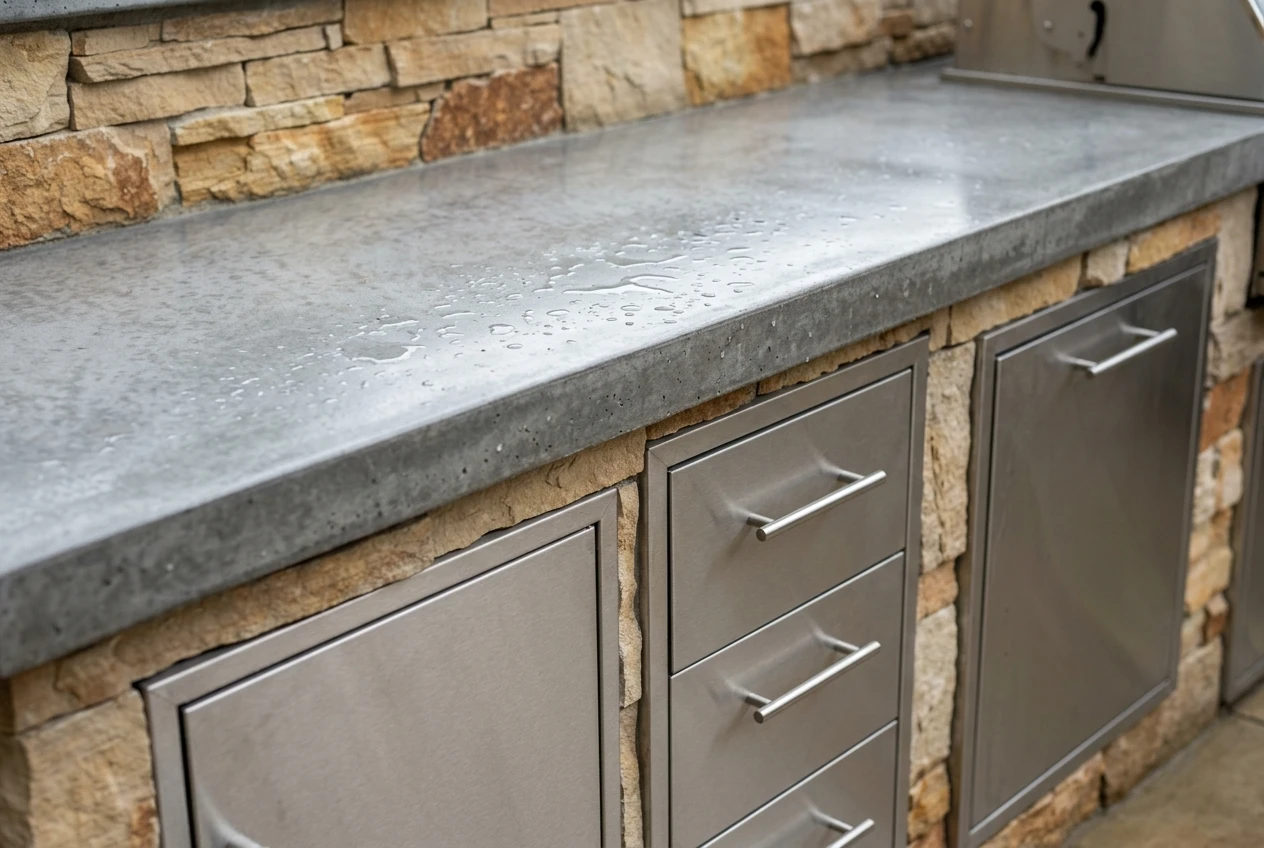
Stainless steel is easy to wipe down and does not absorb grease, which makes it a good fit for cabinet doors, drawers, and access panels. Stone and concrete make solid countertops that stand up to heat and heavy use. Concrete and some stones need sealing so they do not stain, so ask about the sealing requirements before you buy and plan to reseal as the maker recommends.
Think about how the kitchen looks next to the rest of your yard. Matching the finish of your patio or deck makes the area feel like part of the home. Durability should still win any tie, because a counter that looks great but stains or cracks after one winter will bother you every weekend.
Plan Your Water, Power, and Gas
Utilities decide how much you can do outside without walking indoors, and they are cheaper to add during construction than afterward.
Water. A small sink with running water speeds up hand washing, produce rinsing, and cleanup. Without one, you will keep walking back inside with greasy hands and dirty trays. If your climate freezes, ask whoever installs the plumbing how to drain or shut off the lines for winter.
Electricity. Outlets let you run a blender, a rotisserie motor, a lamp, or a fridge. Outdoor outlets should be weather-rated and protected, and electrical work outside is a job for a licensed electrician.
Gas. A natural gas line to the grill means you never run out of propane halfway through a cook or lug a tank to be refilled. Gas lines have to be installed correctly and safely, so hire a qualified professional and check local requirements before you plan around one. If a line is not practical, a propane tank in a ventilated, upright position works fine, as long as you keep a spare on hand.
Must-Have Appliances for BBQ Success
The grill is the main appliance, and the right type depends on what you want from a weekend cook.
-
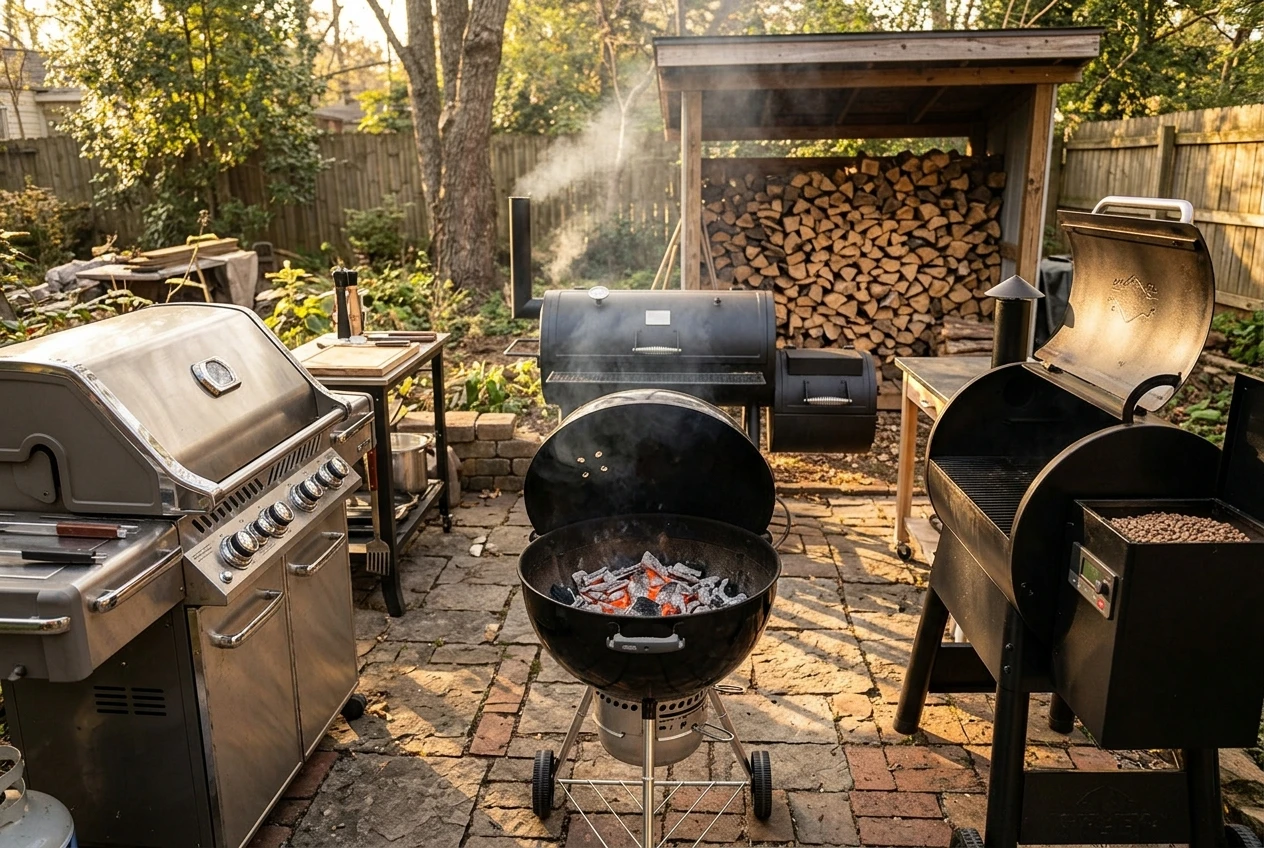
Gas grills heat quickly and give you steady, easy control, which suits burgers, chops, chicken, and weeknight-style cooking. Learning indirect heat grilling on a gas grill lets one burner setup handle large cuts without burning the outside.
-
Charcoal grills burn hotter and give a distinct smoky flavour, but they take longer to light and need more attention to manage.
-
Pellet grills hold a set temperature automatically and add wood smoke, which works well for long cooks you do not want to babysit.
A dedicated smoker is worth considering if low and slow cooking is what you enjoy most. Offset smokers burn wood or charcoal in a side firebox and reward practice. Vertical water smokers are compact and hold a steady temperature once set up. Electric smokers are the simplest to run, since you set the temperature and add wood chips. Whichever you choose, plan a place to keep the fuel dry.
A side burner or cooktop lets you cook the rest of the meal outside. Use it for corn, sautéed peppers and onions, beans, or a pot of sauce, so the main dish and the sides finish together.
An outdoor-rated refrigerator or beverage cooler keeps drinks cold and holds ingredients like marinated meat or cold sides. Pick a unit rated for outdoor use, because indoor refrigerators are not built to handle heat, humidity, and rain, and check that the interior is large enough for what you actually serve.
Essential Tools and Accessories
Good tools make grilling safer and more precise. Start with a solid set: long-handled tongs, a wide spatula, and a grill fork or brush. Long handles keep your hands away from the heat, and sturdy construction keeps heavy cuts from slipping.
A thermometer matters more than almost any other accessory, because color and time are poor guides to doneness. An instant-read thermometer is useful for quick checks on steaks and chicken. A leave-in or wireless probe lets you watch the temperature of a brisket or pork shoulder from your chair. Our guide to the best meat thermometer for grilling explains how to match one to the way you cook.
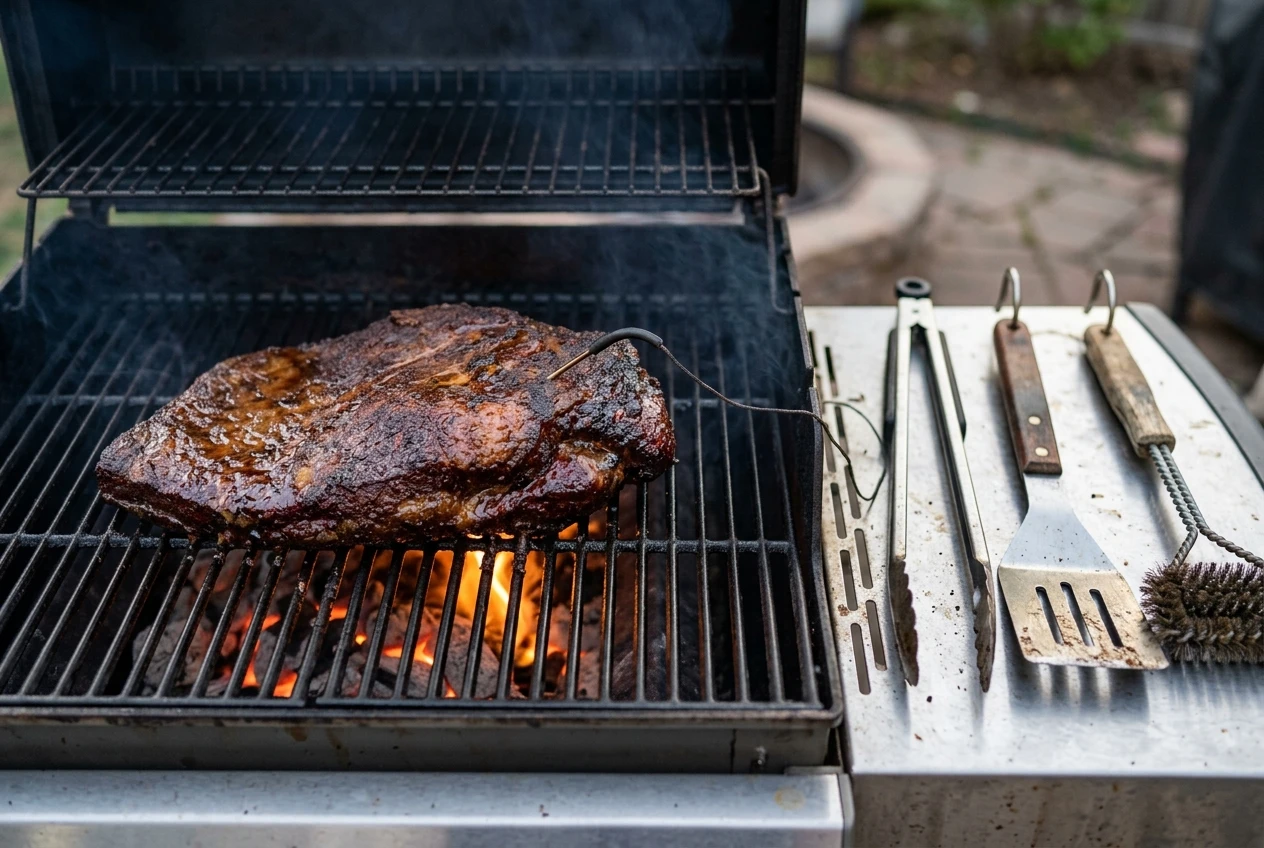
Protect and maintain what you buy:
-
Grill covers keep rain, dust, and pollen off your grill and side tables. Choose one sized for your model, and let the grill cool completely before covering it.
-
Grill mats keep small foods like sliced vegetables from falling through the grates and are easy to wash. Check that the mat is rated for the temperature you plan to cook at.
-
A grill brush, scraper, and degreaser clean the grates and surfaces. Brushing grates while they are still warm, after each cook, is easier than scrubbing off buildup later.
Regular cleaning protects your equipment and keeps old grease from affecting flavour or causing flare-ups. The gas grill maintenance guide walks through the routine in detail.
Make the Space Comfortable to Use
Once the cooking setup works, the comfort items decide whether people want to stay outside.
Seating
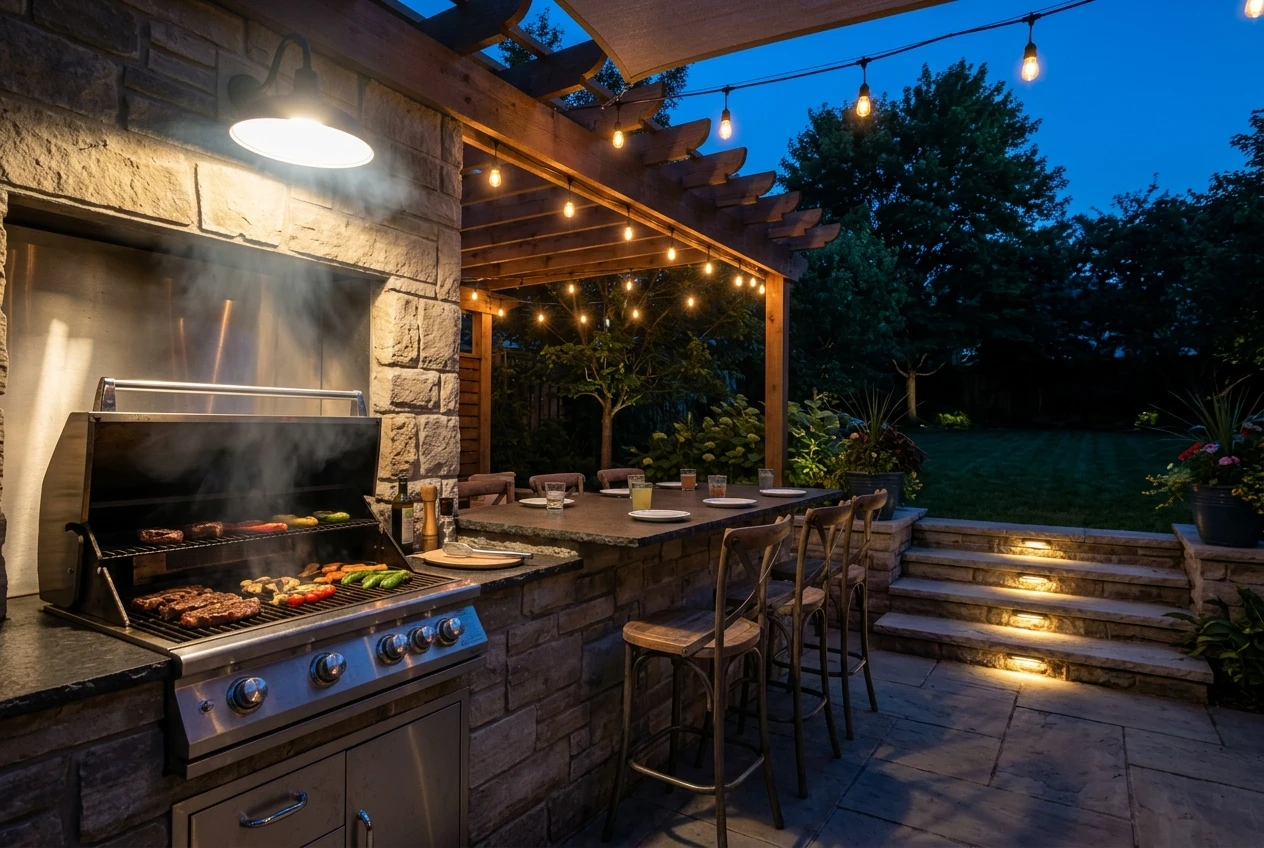
Choose seating made for outdoor use, such as weather-resistant chairs, bar stools at a counter, or a built-in bench. Bar seating along the edge of the counter lets guests talk to the cook without standing in the work area. Cushions should be made of fabric designed for sun and moisture, or be easy to carry inside.
Lighting
You will often cook past sunset, so the grill area needs its own bright, focused light. Task lighting aimed at the cooking surface lets you read thermometers and judge color. Add softer string lights over the seating area, and light any steps or paths so guests can move around safely in the dark.
Entertainment
Outdoor speakers and a weatherproof TV make the space useful for game days and long afternoons. Use products rated for outdoor conditions, and place screens where glare and rain exposure are limited.
Weather Protection and Year-Round Use
A pergola, awning, or shade sail makes a hot afternoon more bearable and gives you a drier place to stand during a light rain. Never place a grill under a flammable cover or enclosed roof, and follow the manufacturer’s ventilation guidance. For cooler weather, a patio heater or fire pit keeps guests comfortable, provided you set it up according to its safety instructions and keep it away from anything flammable.
Build the kitchen in stages if you need to. A well-placed grill, a prep counter, and a good thermometer cover most of what a weekend cook needs, and you can add the sink, refrigerator, lighting, and seating as time and budget allow.