
Indirect heat grilling on a gas grill turns the lid-down cooker you already own into something close to an oven. You light only some of the burners, put the food over the ones that are off, and let hot air cook it slowly. Big cuts like bone-in chicken, pork shoulder, roasts and thick chops need that, because direct flame browns the outside long before the center is done.
This guide covers the setup: which burners to light, where everything goes, how to hold a steady temperature, and how to finish with a sear. If you want the fast, hot side of grilling first, the post on direct grilling techniques covers it. This one picks up from there.
Direct vs indirect heat: what is really happening inside your grill lid
With direct heat, the food sits right above a lit burner. The grates and the flames radiate heat straight into the surface, which browns quickly and gives you grill marks and char. That works for thin steaks, burgers and vegetables, which cook through before the outside burns.
Indirect heat works differently. The burner under the food is off, and the lit burner heats the air in the closed grill. That hot air circulates around the food, so it cooks from all sides at a gentler pace, the way it would in an oven. The surface browns slowly and the inside has time to catch up.
This is why thick cuts fail on direct heat. A 2-inch pork chop over a roaring burner chars on the outside while the center is still raw. Move it to the cool side with the lid closed, and the whole chop rises in temperature together.
A two-zone fire gives you both methods in one grill: a hot zone for searing and a cool zone for slow cooking. You can move food between them as needed.
Which burners to light for a two-zone setup on a 2, 3 or 4 burner gas grill
The rule is the same on every grill: light the burners on one side or on the outside, and leave the burners under the food off. Grills differ, so check your manual for the lighting order, but the layouts below work on most standard models.
2 burner grill: Light one burner and leave the other off. Put the food over the unlit side. You have less room to work with, so keep the food away from the dividing line between the two zones. Cooking on a small grill is easier if you rotate the food halfway through.
3 burner grill: You have two options. Light one outer burner and leave the other two off, which gives you a large cool zone for a roast or a whole chicken. Or light both outer burners and leave the center off, which suits a single roast that sits in the middle with heat on both sides.
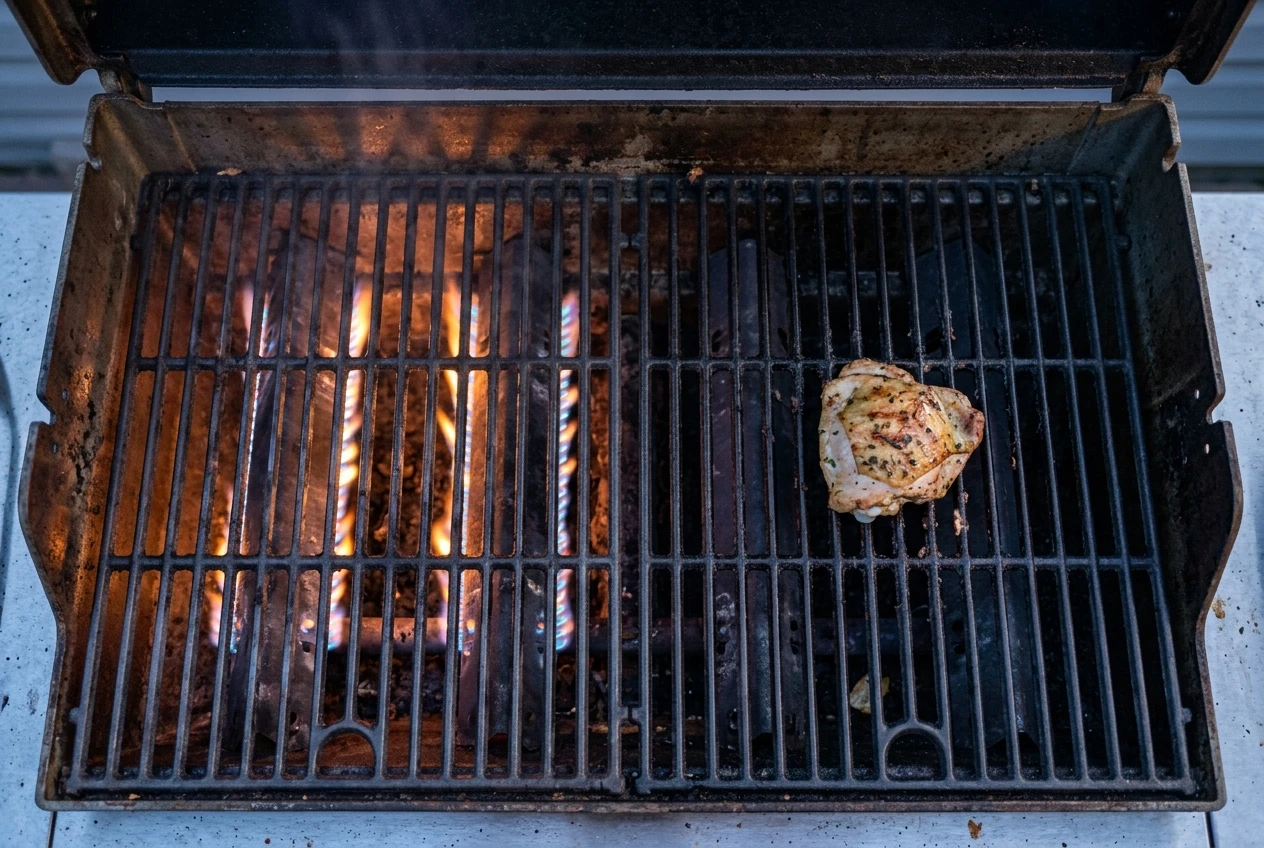
4 burner grill: Light the two burners on one side and leave the other two off for a big cool zone. For a roast, you can instead light the two outer burners and leave the middle pair off.
Preheat with the lid closed for 10 to 15 minutes before the food goes on. The grates, the flavor bars and the inside of the lid all need to get hot, and that stored heat is what keeps the temperature steady once you open the lid to load the food.
For target temperatures, a reasonable range is:
- About 250°F to 275°F for pork shoulder and other cuts that cook for hours.
- About 325°F to 350°F for chicken pieces, roasts and thick chops, where you want some browning along the way.
Adjust the lit burners to settle at the number you want, then give the grill several minutes to level off before you trust it.
Where to put the food, the drip pan and the lid vents
The food
Place the food over the unlit burner, toward the center of the cool zone. Food pushed to the edge near the lit burner gets more heat on one side and cooks unevenly. With bone-in chicken, put the thicker pieces, such as thighs and drumsticks, a little closer to the hot side, and keep breasts farther away because they cook faster.
The drip pan
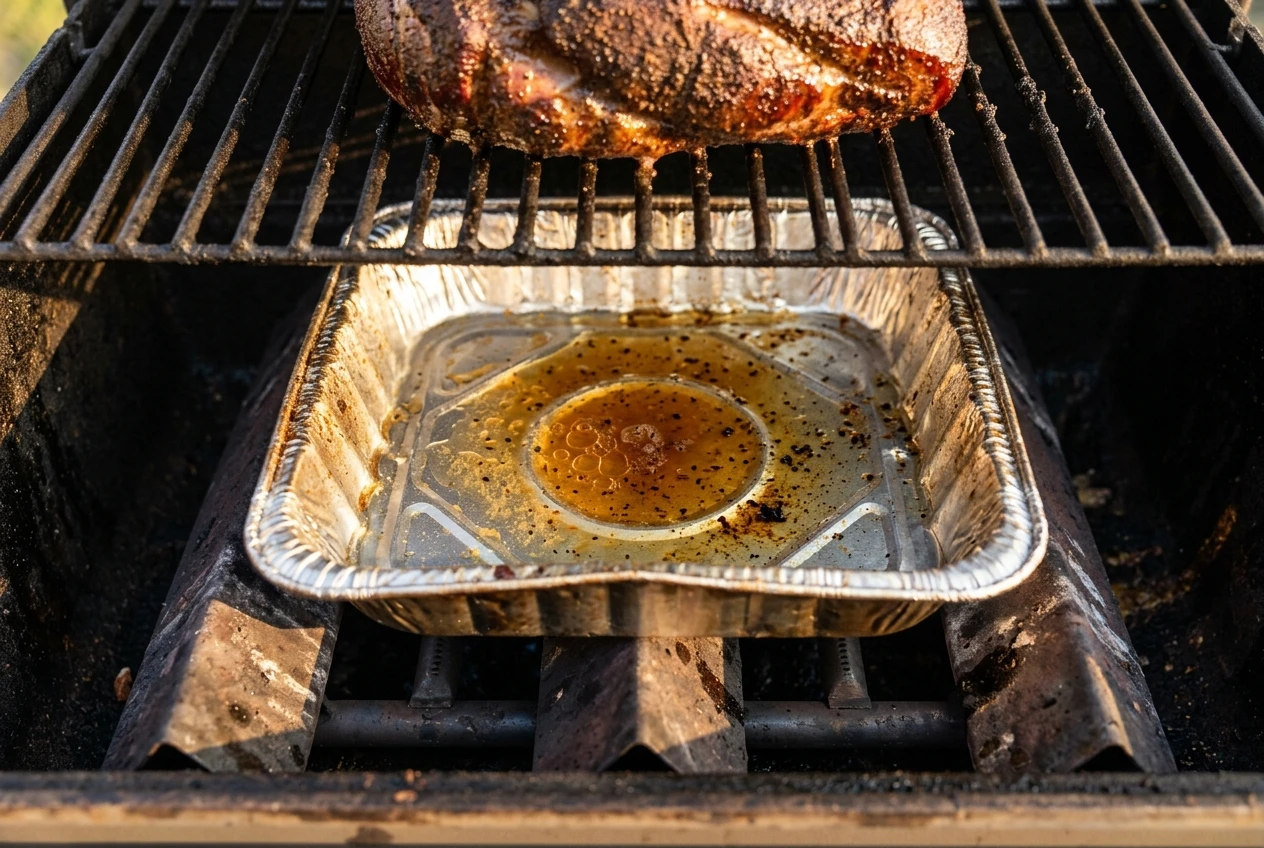
Set a disposable aluminum pan on the grates or flavor bars beneath or beside the food, over the unlit burner. It catches the drippings so fat does not hit the burners and flare up. For long cooks like pork shoulder, a little water in the pan keeps the drippings from scorching and smoking. You can also use the juices in the pan for a sauce or a baste.
The lid vents
Many gas grills have no adjustable vents, or only a small one. If yours has them, leave them open. The burners need air to keep burning, and closing them down can snuff the flame. Keep the lid closed as much as you can, because the lid is what makes indirect heat work.
The lid thermometer
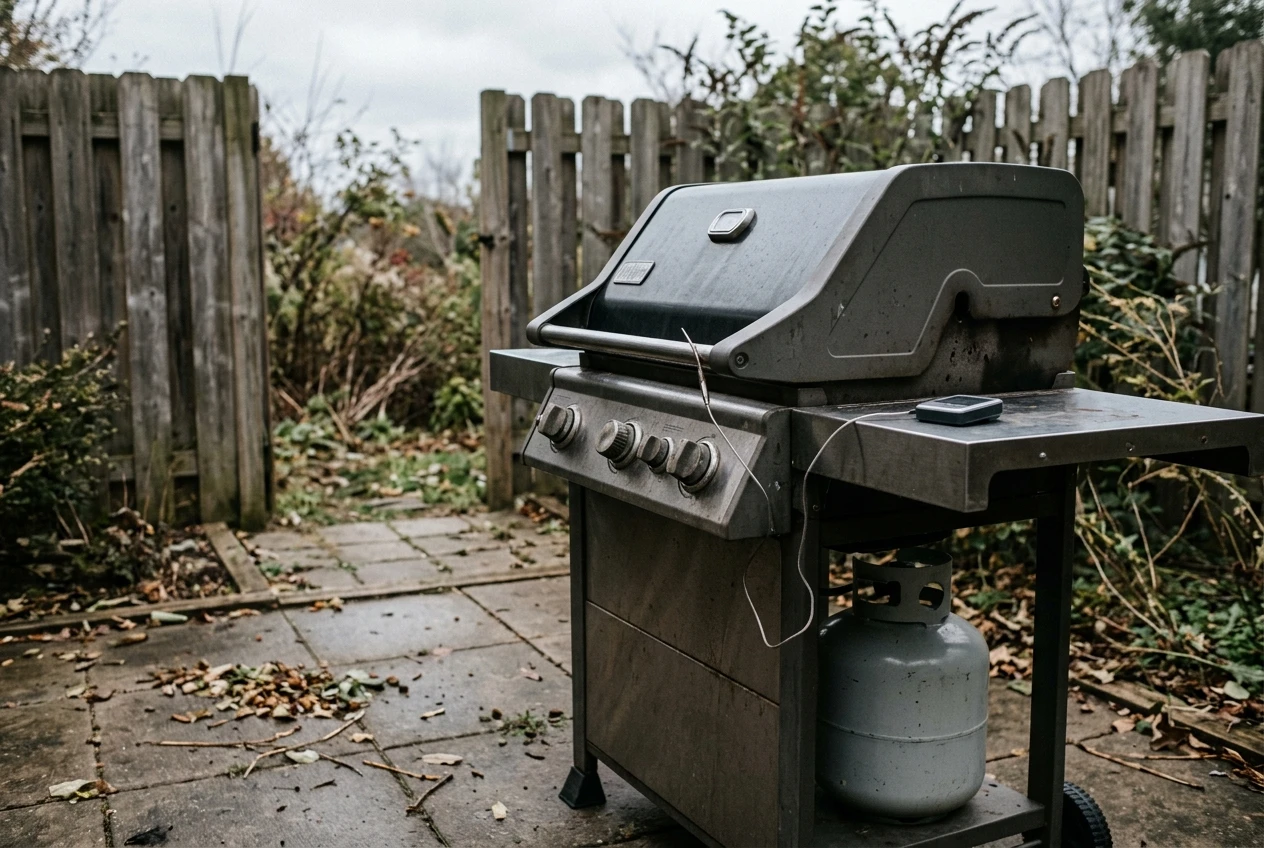
The built-in thermometer in the dome reads the air at the top of the grill, which can differ noticeably from the temperature at the grate where your food sits. Treat it as a rough guide. A probe clipped to the grate near the food gives you the number that matters.
Holding a steady temperature when the weather and the grill disagree
Gas grills hold steady heat well, but wind, cold and low fuel all push the temperature around.
- Make small adjustments. Turn the knob a little, then wait 10 minutes before you decide whether it was enough. Big swings in either direction make it harder to settle.
- Leave the lid alone. Every time you open it, heat escapes and the grill needs several minutes to recover. Check the food at planned moments, such as when you rotate it, and not every few minutes.
- Deal with wind. Wind can blow heat out of the grill and make the flame unstable. Turn the grill so the back faces the wind, or move it to a more sheltered spot. Keep it well away from walls, fences and anything that can burn.
- Preheat longer in the cold. In cold weather the grill takes longer to heat and uses more fuel to hold temperature. Give it extra time before loading the food.
- Check the propane. Before any long cook, make sure you have enough in the tank. A pork shoulder that runs for hours will use a lot, and a tank that runs out partway through ends the cook early. A spare tank is worth having for long sessions.
A probe thermometer makes this much easier. A leave-in probe in the meat tells you the internal temperature, and a second probe at the grate tells you what the grill is actually doing. That lets you adjust the burners without opening the lid.
Which cuts belong on the indirect side (and which don’t)
Indirect heat suits food that is thick, tough, or full of connective tissue, because it needs time to cook through or break down.
Good for the indirect side:
- Bone-in chicken pieces and whole chickens
- Pork shoulder (cook it until it is probe-tender, usually around 195°F to 205°F inside)
- Roasts, such as beef or pork loin
- Thick chops, 1.5 inches or more (see the post on cooking methods for thick pork chops)
- Ribs
- Turkey breast
Better over direct heat:
- Burgers and thin steaks
- Hot dogs and quick-cooking sausages
- Vegetables and kebabs
- Anything that needs only a few minutes
Some foods use both. Thick steaks, chops and even sausages cook gently on the cool side first, then get a hot sear at the end. That is the sear-last move below.
For chicken, the safe internal temperature is 165°F, measured in the thickest part without touching bone. Dark meat like thighs and drumsticks is often better at a higher temperature, closer to 175°F to 185°F, because the extra time makes it more tender.
The sear-last move: finishing over direct heat without wrecking the crust
Searing at the end gives you a browned crust without overcooking the middle. This is often called a reverse sear.
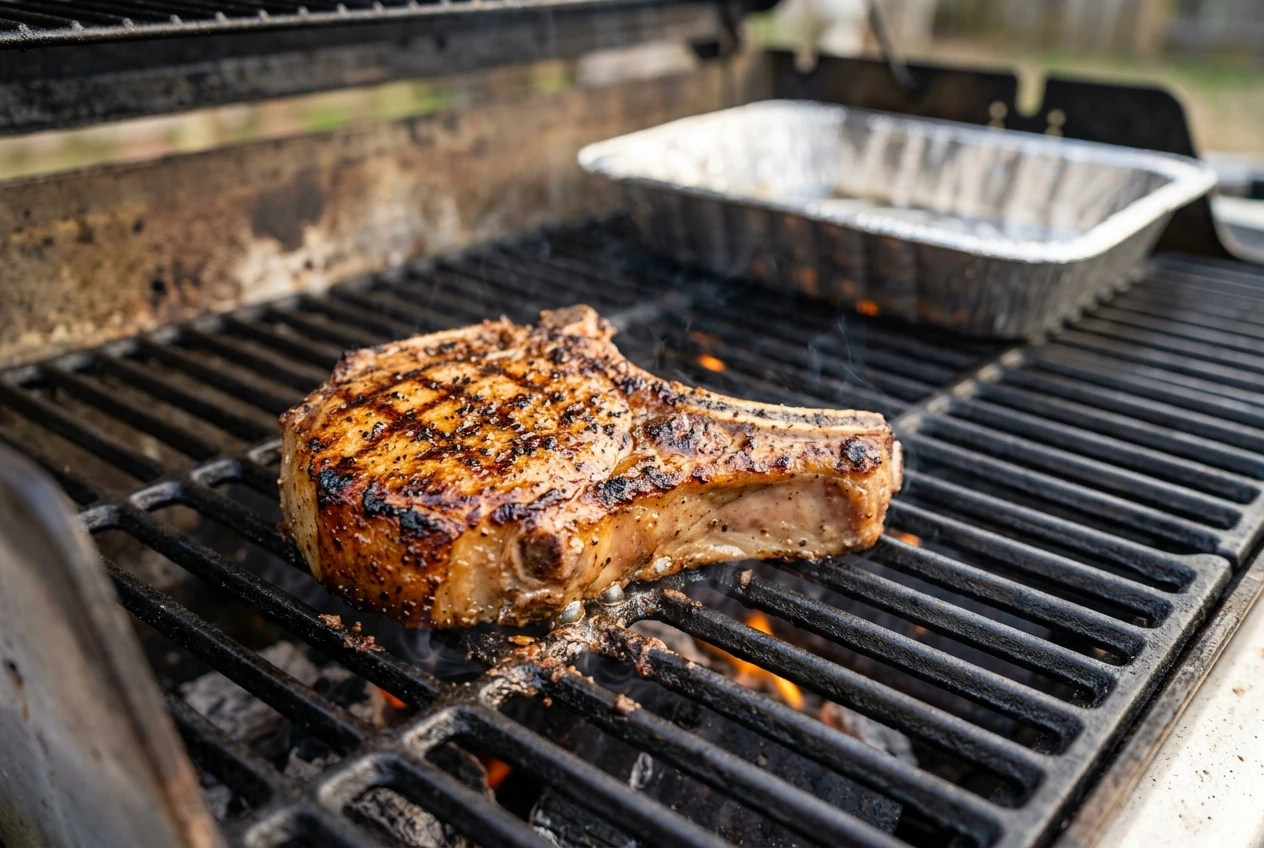
- Cook the food on the indirect side until it is about 10°F to 15°F below your final target temperature.
- Turn the lit burners up to high, or move the food to the hot side.
- Sear for a minute or two per side, watching closely. A thick chop or steak browns fast over high heat.
- Pull the food at your target temperature and let it rest before cutting.
A few details protect the crust:
- Dry the surface. Pat the food dry before the sear. Moisture on the surface steams instead of browning.
- Skip the sauce until late. Sugary barbecue sauce burns over direct heat. Brush it on in the last few minutes, or while the food is still on the cool side, and then give it a short time over the heat to set.
- Keep the lid open for thin sears. For a steak or chop, a quick sear with the lid open gives you control. For chicken skin, the lid may stay closed for the first minute, but watch for flare-ups from the rendered fat.
- Rest the meat. A short rest lets the juices settle, and the internal temperature rises a few more degrees while it sits, so pull the food a touch early.
Common indirect mistakes weekend cooks make and quick fixes
Opening the lid too often. Each peek drops the temperature and stretches the cook time. Fix: rely on a probe thermometer and open the lid only when you need to.
Skipping the preheat. Food that goes onto a half-heated grill cooks unevenly, and the temperature takes longer to stabilize. Fix: preheat with the lid closed for 10 to 15 minutes.
Trusting the dome thermometer. It reads the air at the top of the lid, not at the grate. Fix: clip a probe near the food.
Putting food too close to the lit burner. The side facing the flame overcooks. Fix: center the food over the unlit zone and rotate it halfway through the cook.
Leaving out the drip pan. Fat hits the burners, flares up and leaves a bitter taste on the food. Fix: set a pan under or beside the food.
Cooking by time. Cut size, grill performance and weather all change how long a cook takes. Fix: cook to internal temperature.
Saucing too early. The sugars burn before the meat is done. Fix: sauce in the last 10 minutes or so.
Running low on propane. The flame weakens and the grill cannot hold temperature. Fix: check the tank before a long cook and keep a spare.
Letting the grill get dirty. Grease buildup makes flare-ups more likely and gives you uneven heat. The gas grill maintenance guide covers how to keep the burners and grates in good shape.
Cook to temperature, not to the clock
A two-zone setup gives you a hot side and a cool side, and the food moves between them. The one tool that makes it reliable is a good probe thermometer, since it tells you when the food is actually done. The guide to the right grilling thermometer for the way you actually cook walks through how to choose one, and the picks in it are a good place to start if you are also shopping for a drip pan or a new probe.