

The Sahara X450 BBQ rewards the same habits that make any grill reliable: a safe setup, a proper preheat, two heat zones, a thermometer, and a short cleaning routine after each cook. This guide covers those Sahara X450 BBQ best practices in the order you meet them on a cookout day, from where you place the grill to how you store it afterwards.
One note before the details. Your owner’s manual is the authority on your grill’s fuel connection, lighting procedure, burner layout and clearance distances. Where this article describes a general practice and the manual says something different, follow the manual.
Set Up Safely Before You Light Anything
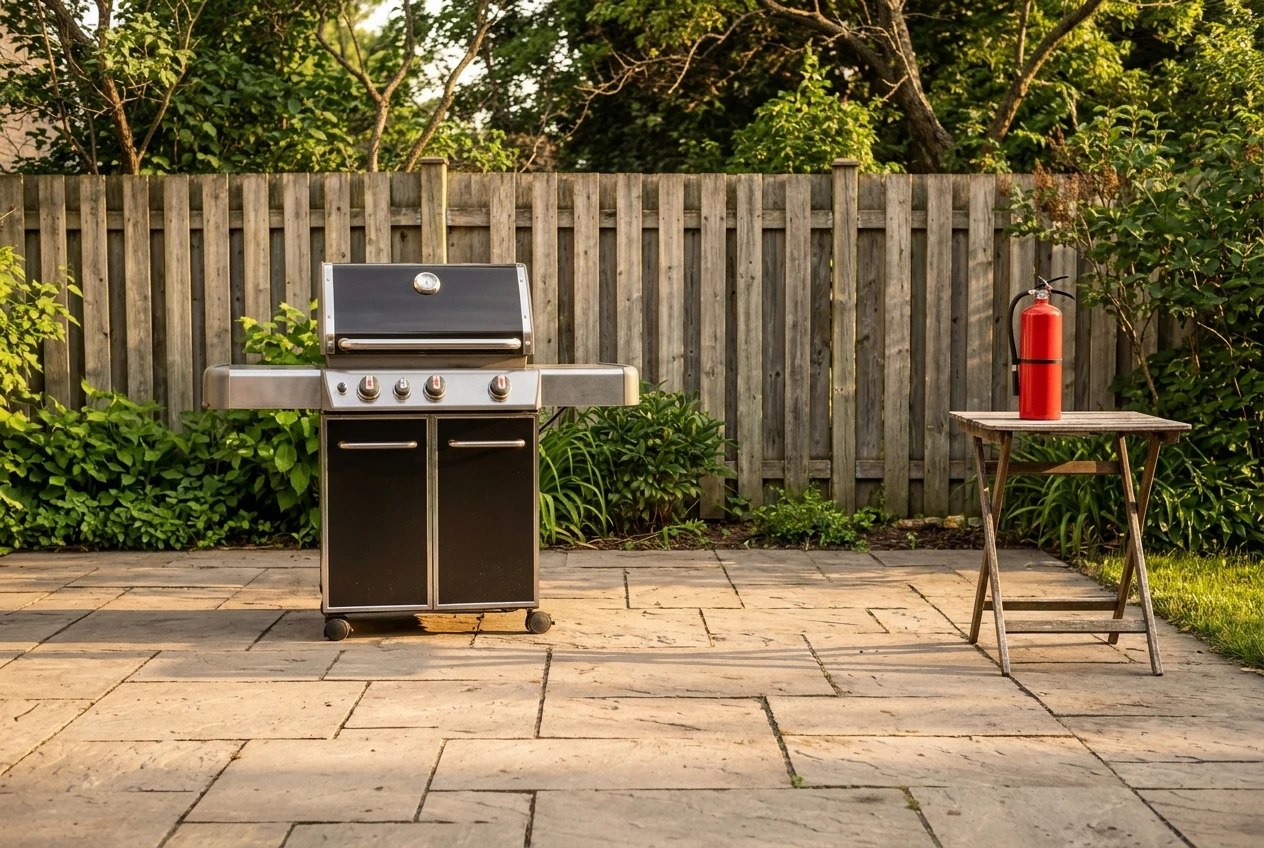
Most grilling accidents happen before the food goes on, so start with the location.
-
Cook outdoors only. Never run a grill in a garage, a covered porch with no airflow, or any enclosed space.
-
Use level, solid ground. A grill that rocks can tip a hot grease tray or a pan of food.
-
Keep clear of anything that burns. Fences, house walls, deck rails and overhanging branches should all be well away. The manual lists the minimum distances for your model.
-
Keep children and pets back. A few feet of clear space around the grill prevents most bumps and burns.
-
Keep a fire extinguisher within reach. Check that its label says it is suitable for grease and flammable-liquid fires. Water does not put out a grease fire.
If your X450 runs on a propane bottle, check the connections for leaks at the start of every season and any time you change the bottle. Brush a mix of dish soap and water onto the hose and fittings with the valve open. Bubbles that grow mean gas is escaping. Turn the valve off, tighten the fitting and test again. If you smell gas at any point, shut the valve, keep flames away and do not light the grill until the leak is fixed.
Always open the lid before you ignite the burners. Gas that collects under a closed lid can flash when it lights.
Preparation and Setup for Better Flavor
Good barbecue is mostly decided before the food touches the grates. Set everything out first, because you will not want to leave the grill once the cooking starts.
Have these ready:
-
Long-handled tongs and a sturdy spatula
-
A clean plate or tray for cooked food, separate from the one that held the raw food
-
A brush for the grates, oil, and a paper towel
-
A probe or instant-read thermometer
-
Sauces, seasoning and any sides that need to go on the grill
Keeping raw and cooked food on separate plates matters for safety. Juices from raw chicken or beef on a plate that later holds finished food are a common way to spread bacteria.
Preheat with the lid closed
Light the grill and close the lid for about ten to fifteen minutes. Hot grates sear the surface of the food quickly and release it more easily. Cold grates are the usual reason meat sticks and tears. Once the grill is hot, scrub the grates with a stiff brush to remove residue from the last cook.
Build two heat zones
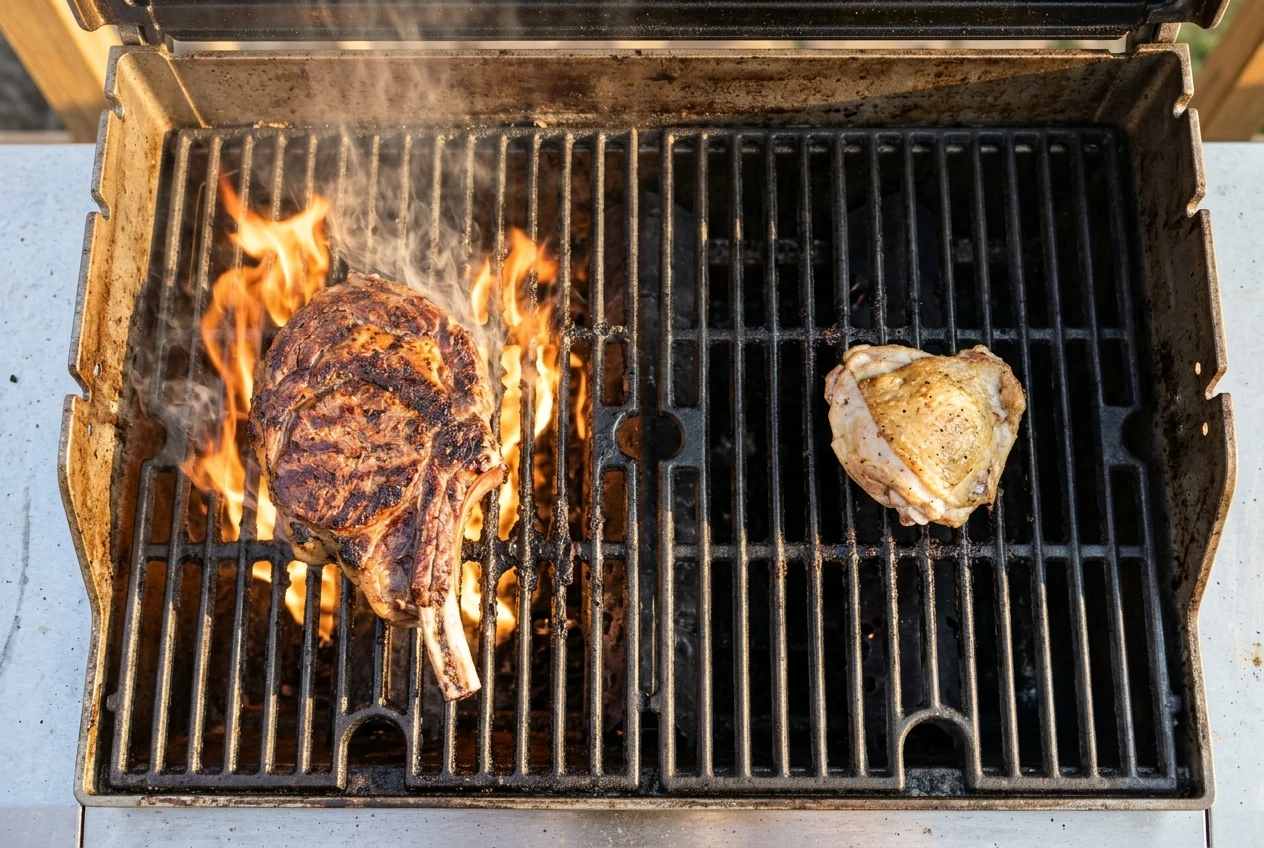
Set one side of the grill to high and the other to low or off. The hot side sears. The cooler side finishes thick cuts gently and gives you a place to move food when a flare-up starts. If you cook on gas, the step-by-step guide on setting up a two-zone fire on your gas grill walks through which burners to light and how to hold the temperature steady.
Oil the food, not just the grates
Rub a thin coat of oil on the food, or wipe the hot grates with a folded paper towel dipped in oil and held with tongs. A thin coat is enough. Pooled oil drips onto the burners and causes flare-ups.
Give each piece room
Leave a finger’s width or more between items. Crowded food steams instead of browning, and you lose the room to turn pieces without disturbing their neighbors. If everything does not fit, cook in two batches and keep the first batch warm on the cool side.
Grilling Techniques That Work on Any Cut
Different foods need different heat, and choosing the right zone for each one does most of the work.
Match the cut to the heat
-
Thin and quick cooking foods such as burgers, sausages, thin steaks, chops and vegetable slices cook well over direct heat with the lid closed.
-
Thick steaks and chops do well seared on the hot side, then moved to the cool side to finish without burning the outside.
-
Bone-in chicken cooks best mostly over indirect heat so the inside reaches a safe temperature before the skin chars. Move it to direct heat at the end to crisp the skin.
-
Fish is delicate. Use a clean, well-oiled grate, or a grill basket or foil for thin fillets, and turn it once.
For a deeper look at the searing side of this, the direct grilling techniques article covers it in detail.
Use a thermometer instead of guessing
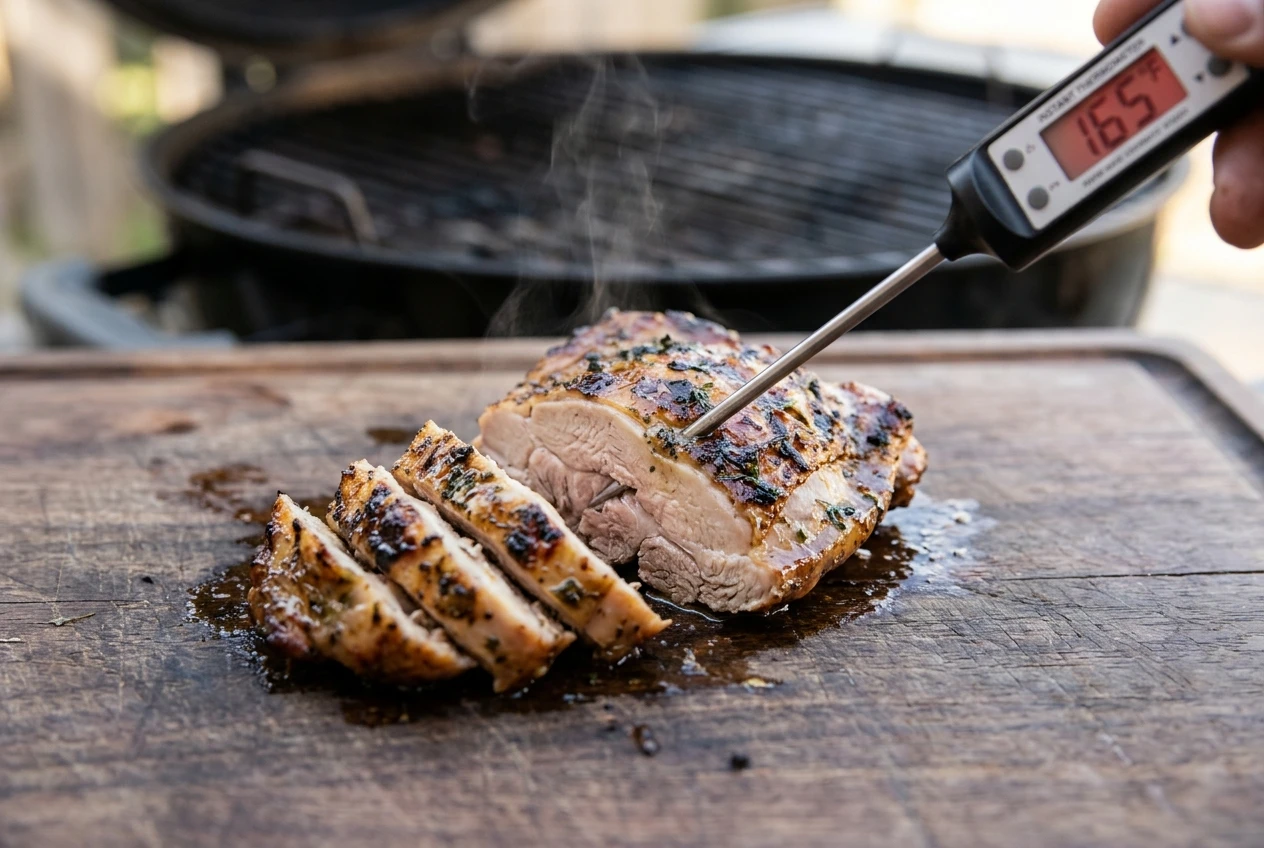
Color and firmness are unreliable ways to judge doneness. A thermometer tells you when the food is safe and when it is cooked the way you like it. The USDA safe minimum internal temperatures are 145°F for whole cuts of beef, pork and fish (with a three-minute rest for the meat), 160°F for ground beef and pork, and 165°F for all poultry. Insert the probe into the thickest part, away from bone. If you are choosing one, the right grilling thermometer for the way you actually cook compares options by cooking style.
Handle the food gently
Leave food alone until it has seared. Meat that has browned properly releases from the grate on its own, and if it still grips, give it another minute. Do not press burgers with the spatula, because that squeezes out the juices and feeds flare-ups.
Keep the lid closed as much as you can. Every time it opens, heat escapes and the cooking time stretches.
Season and marinate with timing in mind
Salt steaks and chops at least 40 minutes before grilling, or right before they go on the grill. Both work, while the stretch in between draws out moisture without giving it time to be reabsorbed. Marinade timing depends on the food:
-
Fish and shrimp: 15 to 30 minutes, since acidic marinades start to break down the flesh.
-
Chicken: a few hours, and up to a day for most recipes.
-
Beef and pork: a few hours to overnight.
Throw away marinade that has touched raw meat, or boil it for several minutes before using it as a sauce. Brush on sugary sauces during the last few minutes of cooking. Sugar burns at grilling temperatures, and an early coat turns black before the meat is done.
Rest the meat
Move finished steaks, chops and chicken to a clean plate and leave them for about five minutes. Larger roasts need longer. The juices settle back through the meat during the rest, so less runs onto the board when you cut it.
Get cleaner sear marks
Sear marks come from hot grates and food that is left still. Preheat fully, pat the surface of the meat dry, and set it down at an angle. Leave it for a couple of minutes before you lift a corner to check. Rotating the piece a quarter turn halfway through the sear gives the crosshatch pattern.
Maintenance and Care That Extends the Life of Your Grill
A grill that is cleaned regularly lights more reliably, cooks more evenly and lasts longer. The routine takes only a few minutes each time.
After every cook
-
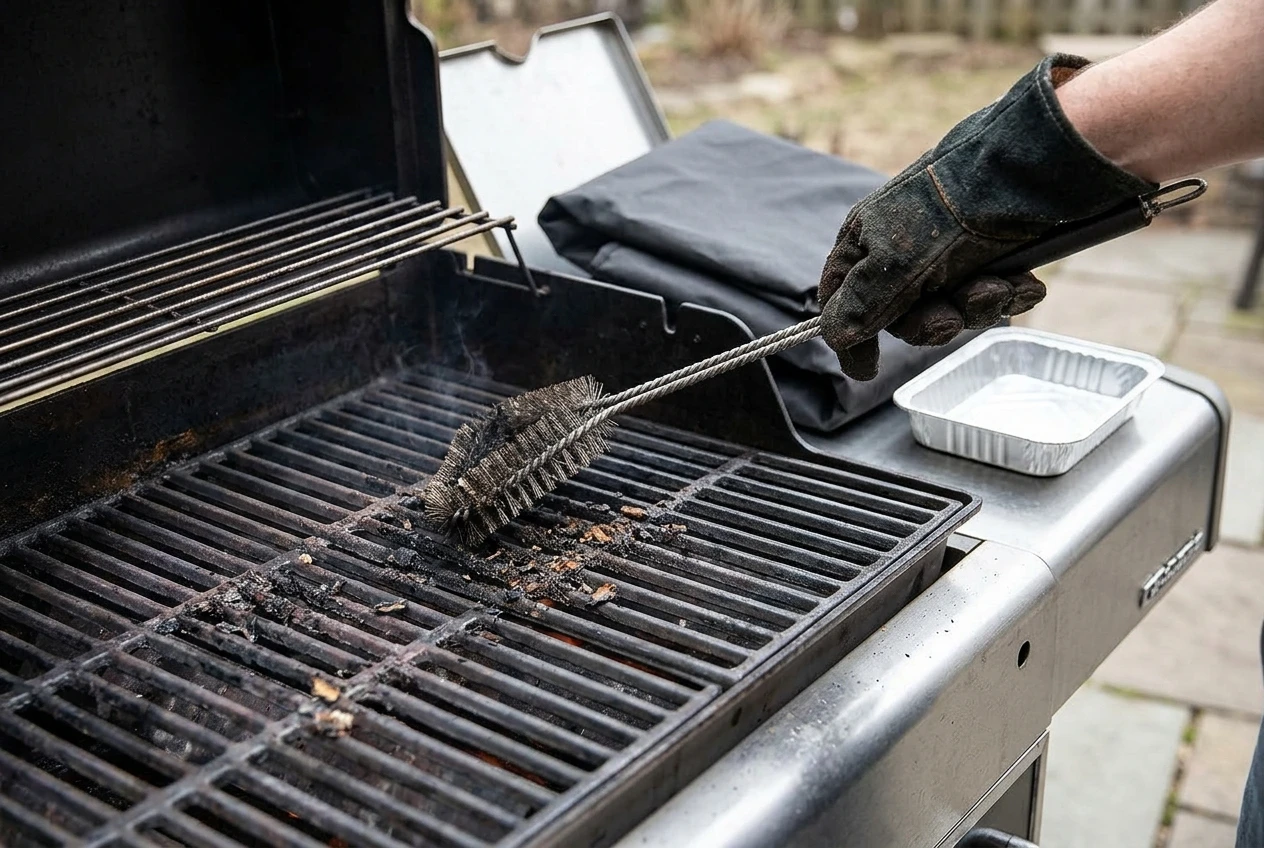
Brush the grates while they are still warm. Food residue comes off easily at this point and hardens once it cools.
-
Turn off the burners and the gas supply at the bottle or source.
-
Let the grill cool completely before you cover it.
Every few cooks
-
Empty and wipe the grease tray or catch pan. Built-up grease is the main fuel for grease fires.
-
Look over the burners for blocked ports. Uneven flame or yellow flame tips usually point to clogs or debris.
-
Inspect the hose and fittings for cracks, rubbing or brittle spots, and replace any worn parts before the next cook.
The gas grill maintenance guide lays out a fuller schedule if you want one to follow through the season.
Store it properly
A fitted cover keeps rain, pollen and dust off the grill. Put the grill in a dry, sheltered place if you have one, since moisture is what causes rust on metal parts. Store propane bottles outdoors, upright, and never inside the house or garage.
Fixing Common Problems
-
Flare-ups: Move the food to the cool side, close the lid for a moment, and clean the grease tray. Trim excess fat from meat before grilling.
-
Cold spots or uneven cooking: Preheat longer, check for blocked burner ports, and rotate food during the cook.
-
Food sticking: The grates were probably not hot or clean enough, or the food was turned too early.
-
The grill will not reach temperature: Check that the fuel supply is sufficient and that connections are tight, then consult the manual for your model’s troubleshooting steps.
-
Burnt outsides and raw centers: Switch to indirect heat earlier and use the thermometer to decide when the food is done.