
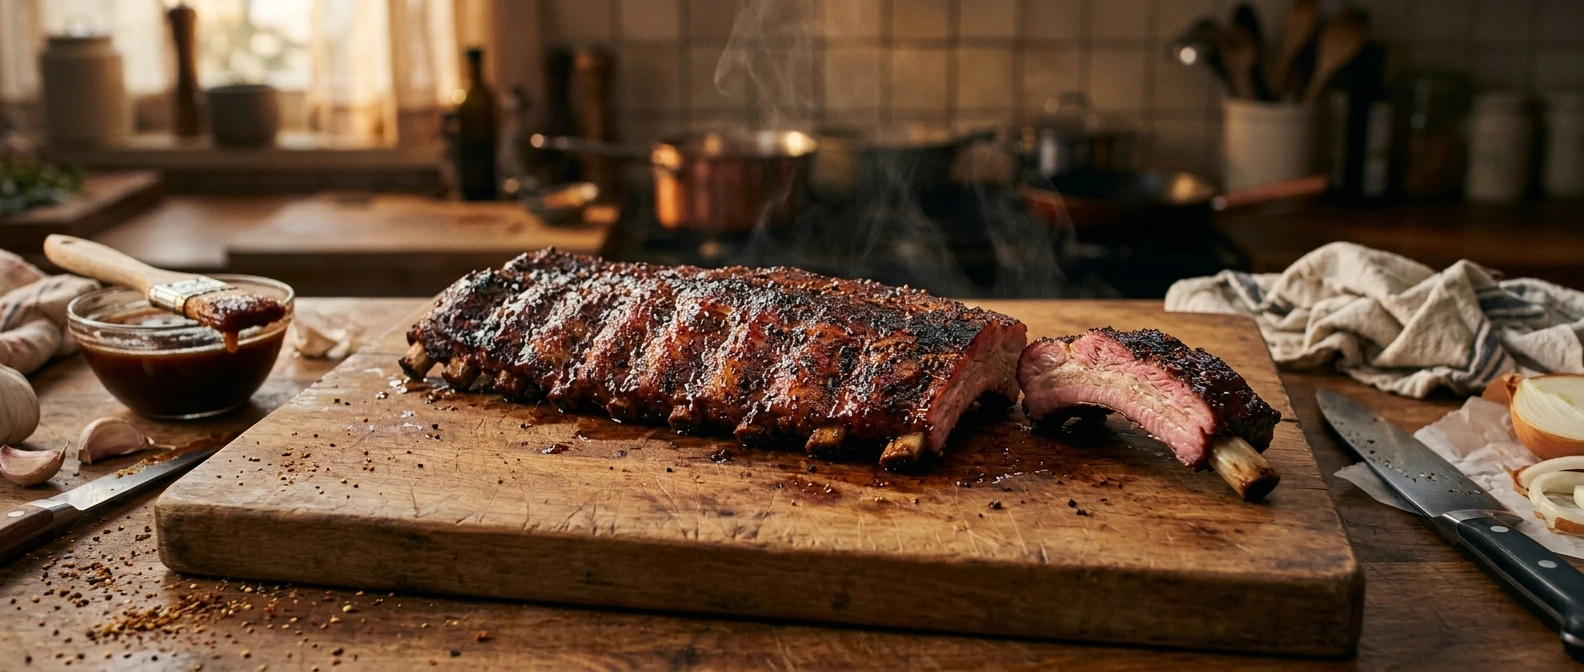
Tender ribs are one of those things that sound simple until you actually try to pull them off the grill. Anyone can season a rack and throw it over heat. Getting the meat to pull cleanly off the bone without turning stringy, dry, or tough is a different matter entirely. The good news is that tender ribs come down to a handful of things you can control every time you cook, not luck or a secret family rub.
Why Ribs Turn Out Tough
Most tough ribs trace back to one of three problems: too much heat too fast, skipping the membrane removal, or pulling the ribs off before the collagen inside has had time to break down. Ribs are a tougher cut of meat loaded with connective tissue. That tissue needs time and moderate heat to melt into something soft and rich. Rush any part of that process and you end up with meat that fights back when you bite into it.
The fix isn’t complicated, but it does require patience and a little bit of know-how about what’s actually happening to the meat as it cooks.
The Membrane Matters More Than People Think
Flip a rack of ribs over and you’ll see a thin, silvery-white layer of skin running along the bone side. That’s the membrane, and if you leave it on, it acts like a barrier. Smoke can’t get through it, rubs can’t get through it, and it tightens up as it cooks, which makes the whole rack chewier than it needs to be.
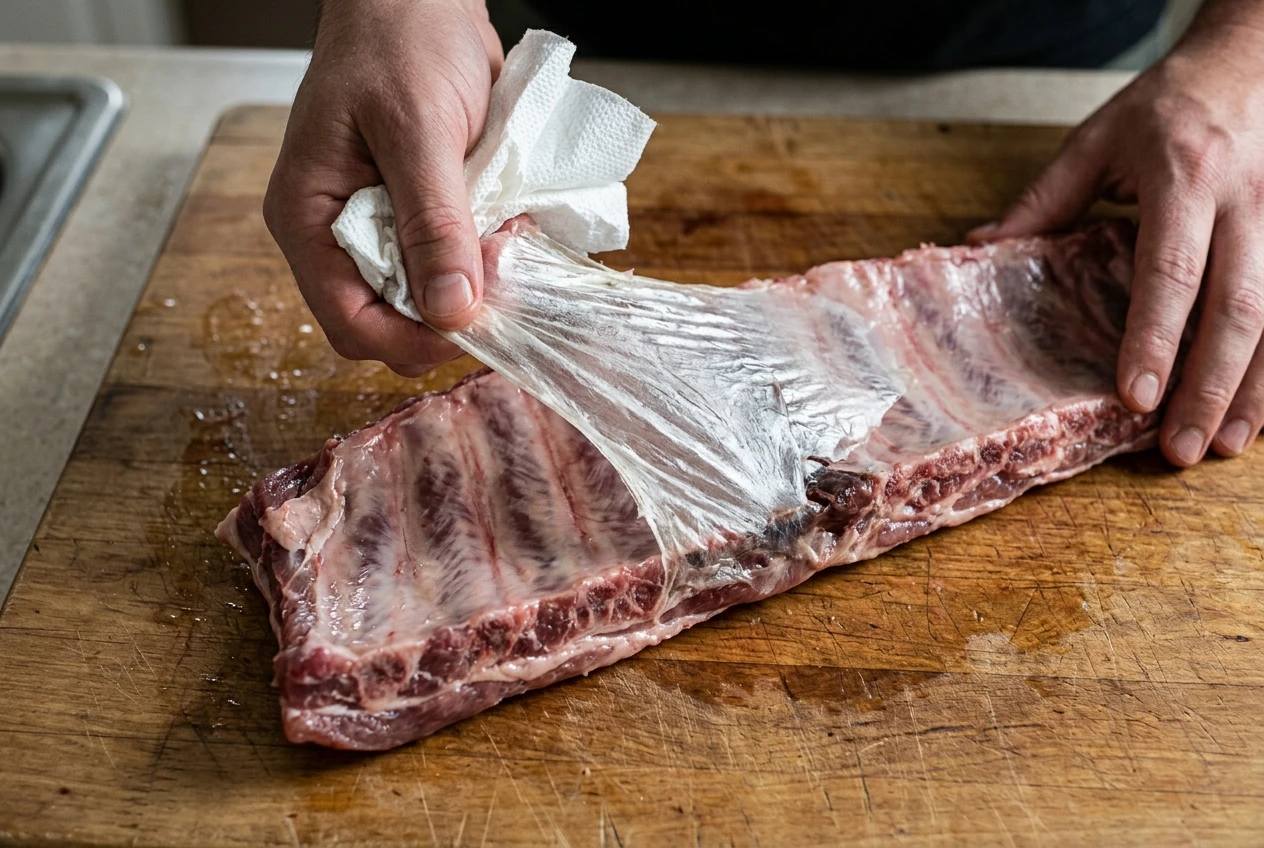
Removing it takes less than a minute. Slide a butter knife or the tip of a spoon under one edge, usually near a corner bone, to get it started. Once you’ve got a bit of membrane lifted, grab it with a paper towel for grip and pull it off in one piece. It should come away in a single sheet if you work slowly. Some racks have a membrane that’s already been scored or partially removed at the store, so check before you assume you need to start from scratch.
Low and Slow Isn’t Just a Saying
Ribs need time at a lower temperature to let that connective tissue break down into gelatin, which is what gives properly cooked ribs their tender, almost melting texture. Cranking the heat to speed things up just toughens the outside before the inside has a chance to catch up.
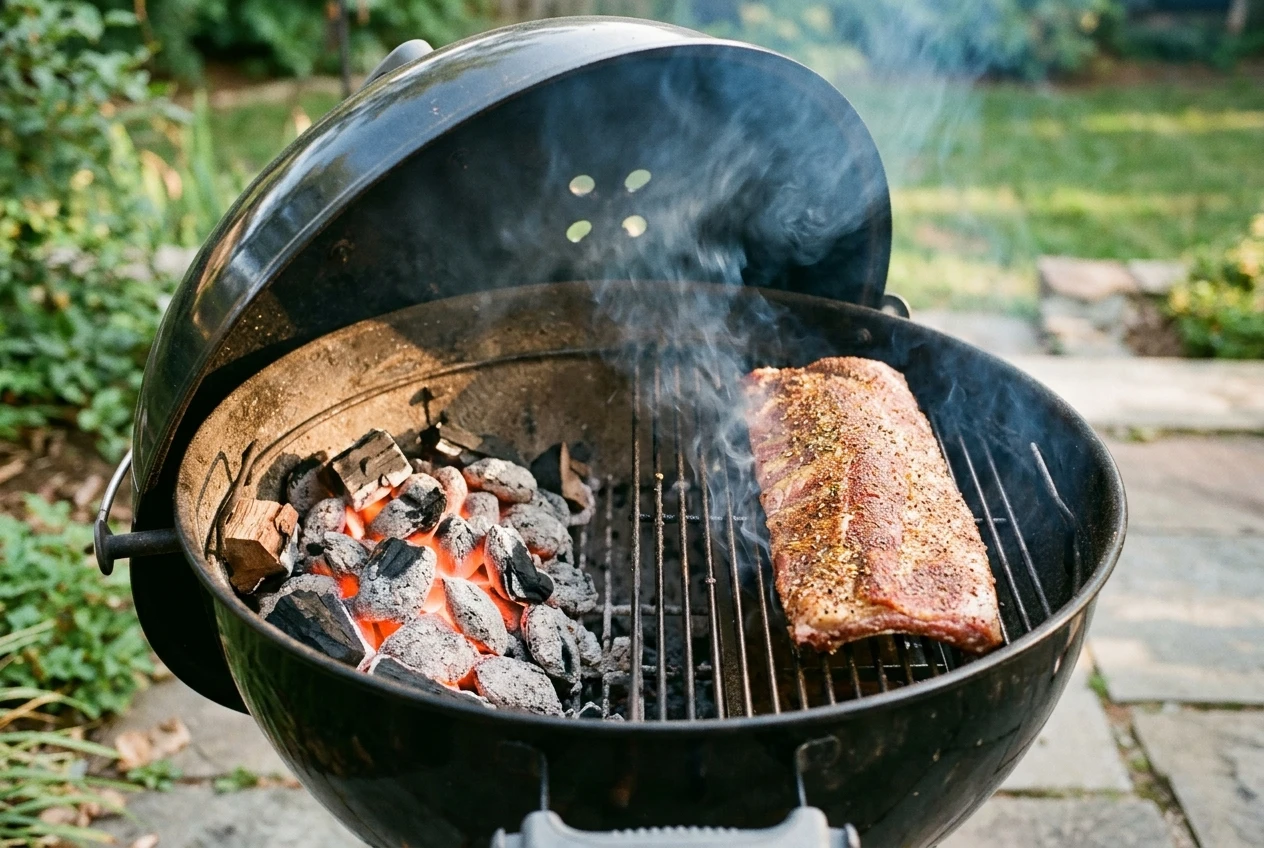
A grill temperature in the 225 to 275 degree Fahrenheit range is the sweet spot for most rib cooks. That usually means setting up your grill for indirect heat, with the ribs away from the direct flame, so they cook gently rather than char on the outside while staying raw near the bone. If you’re still getting comfortable with indirect setups and heat zones, it’s worth spending some time with the basics of fire management before you commit a whole rack to the grill.
Keeping that temperature steady over several hours is where a lot of weekend cooks run into trouble, mostly because they’re guessing instead of measuring. A reliable read on both your grill’s internal temperature and the meat itself removes most of the guesswork. If you’re not confident your current thermometer is giving you accurate numbers, the right meat thermometer makes a bigger difference to your results than almost any other piece of gear you’ll buy.
The 3-2-1 Method, and When to Ignore It
The 3-2-1 method is a popular starting point for spare ribs: three hours unwrapped at low heat, two hours wrapped in foil with a little liquid to steam and tenderize, then one more hour unwrapped to firm the bark back up and let any sauce set. It’s a solid framework, especially if you’re new to cooking ribs and want something with clear checkpoints.
That said, treat it as a guideline rather than gospel. Baby back ribs are smaller and leaner than spare ribs, so they usually need less total time, something closer to a 2-2-1 split. Thicker racks, colder outdoor temperatures, and inconsistent grill heat can all push those numbers around. The schedule gets you in the right neighborhood. The actual finish line is determined by the meat, not the clock.
How to Tell When Ribs Are Actually Done
This is where a lot of ribs get pulled too early or left on too long. Time is a rough guide at best. What you want to judge by is how the meat itself behaves.
A few reliable signs:
-
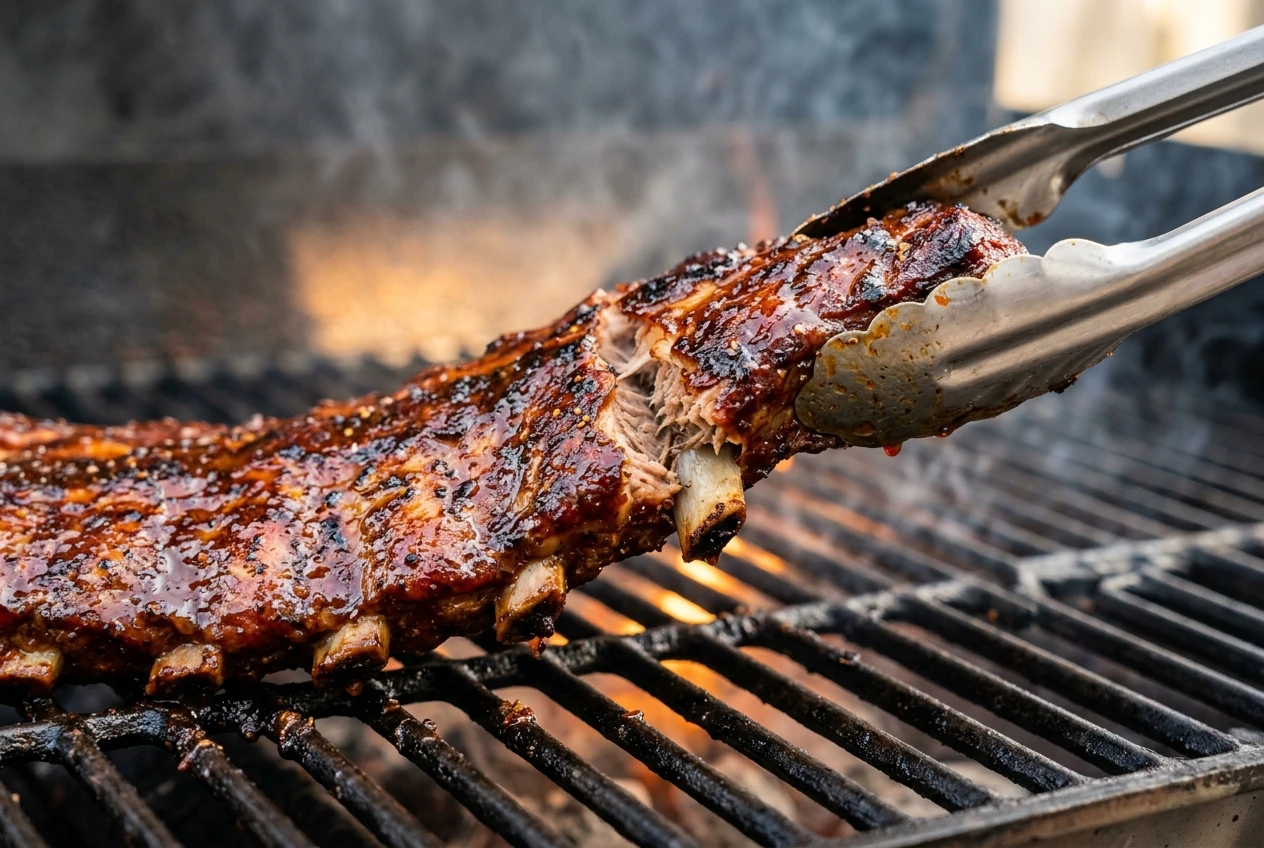
The bend test. Pick up the rack with tongs from one end and let it hang. If it’s done, it should bend and the surface will crack slightly between the bones. A rack that stays stiff needs more time.
-
The toothpick test. Slide a toothpick or skewer into the meat between two bones. It should go in with almost no resistance, similar to pushing it into softened butter.
-
Bone pull-back. The meat should have pulled back from the ends of the bones by a quarter inch or more, exposing a bit of bone.
Internal temperature is useful too, though ribs behave a bit differently than steaks or chicken. Most ribs are fully tender somewhere between 195 and 203 degrees Fahrenheit internally, well past what’s considered “done” for food safety, because that extra time is what breaks down the connective tissue. A good instant-read thermometer takes the guesswork out of this step entirely, which matters more with ribs than with almost any other cut, since the window between underdone and perfect can be narrower than people expect.
Wrapping, Resting, and Sauce Timing
Wrapping ribs partway through the cook, sometimes called the “crutch,” speeds up tenderizing by trapping moisture and heat close to the meat. A splash of apple juice, a pat of butter, or a drizzle of honey inside the foil adds flavor while it steams. Just don’t skip the final unwrapped stage if your method calls for one. That last stretch is what firms the bark back up after the foil has softened everything, including the surface.
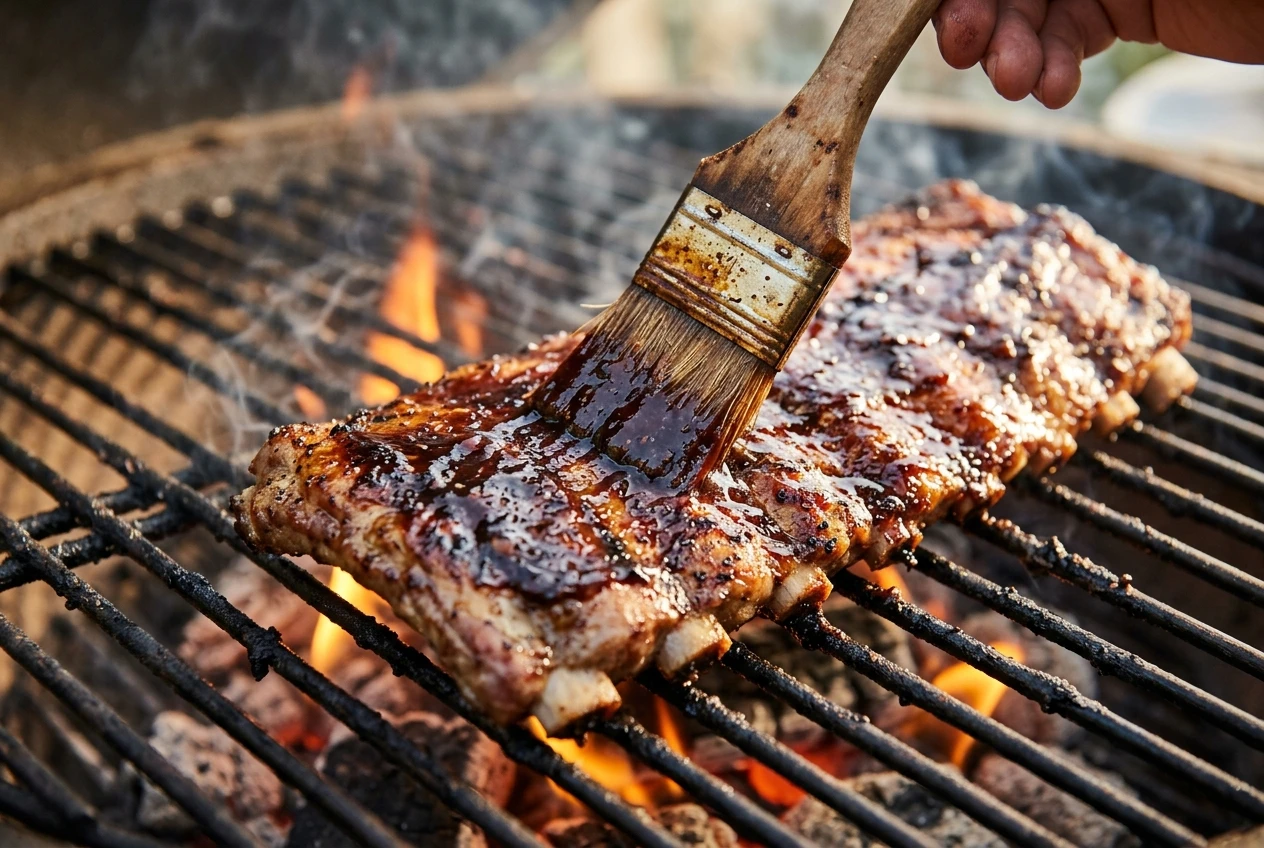
Sauce should go on near the end, not the beginning. Most barbecue sauces have enough sugar that they’ll burn or turn bitter if they sit over heat for hours. Brush it on during the last 20 to 30 minutes, and give it a few minutes per side to set and caramelize without scorching.
Resting matters here just like it does with any larger cut of meat. Give the ribs 10 to 15 minutes under loose foil before slicing. It lets the juices redistribute through the meat instead of running out onto the cutting board the second you make the first cut.
Choosing the Right Cut to Begin With
Tender results start before the meat ever touches the grill. Spare ribs have more fat and connective tissue, which makes them more forgiving and arguably easier to get right for a first few attempts, since there’s more margin for error. Baby back ribs are leaner and cook faster, but they can dry out if you’re not watching them closely. St. Louis-style ribs, which are spare ribs trimmed into a neater rectangle, split the difference and are a solid choice if you want something a little easier to handle on the grill grates.
Whichever cut you choose, look for racks with even thickness from end to end. A rack that’s noticeably thicker on one side will cook unevenly, leaving you with part of the rack perfect and another part either underdone or overcooked by the time you pull it off.
If you want a complete walkthrough with specific timing and a full rub and sauce approach, the best tender ribs recipe on this site lays out a full cook from start to finish, built around the same principles covered here.
Getting consistently tender ribs isn’t about one trick or one secret ingredient. It’s about controlling a few variables, membrane removal, steady low heat, accurate temperature readings, and knowing how to judge doneness by feel rather than the clock. Nail those and the rest, rubs, sauces, wood choice, is just flavor layered on top of a foundation that already works. Give your next rack the full process rather than a shortcut, and you’ll notice the difference the moment you pick it up with the tongs.
As an Amazon Associate I earn from qualifying purchases, at no extra cost to you.