

A Weber electric grill is simpler to clean than a charcoal or gas grill because there is no fuel, no ash and no burner tubes to clear. The parts that need care are the heating element and the electrical connection, and the rest is ordinary scrubbing, rinsing and drying. This guide covers the order to work in, what to use on each part, and the habits that keep grease from building up between cooks.
One note before you start: models differ in how the grates, drip tray and control are built. Your owner’s manual is the final word on what can get wet and what can be removed. If you have lost the paper copy, the manufacturer’s site usually offers the manual for your model as a download.
Before You Start: Unplug and Let It Cool
Unplug the grill from the wall first, then wait until every surface is cool to the touch. A grill that was just in use can burn you, and soapy water on a hot grate can warp metal or leave stains. Giving it an hour or so after cooking is usually enough, but check by hand before you begin.
Electricity and water do not mix, so keep the power cord, the plug and the control or temperature dial away from your cleaning water at every stage. Lay the cord out of the way so you do not drag it through puddles. If your grill lives on a patio with an outdoor outlet, make sure the outlet and the plug are dry before you plug in again later.
Gather Your Supplies
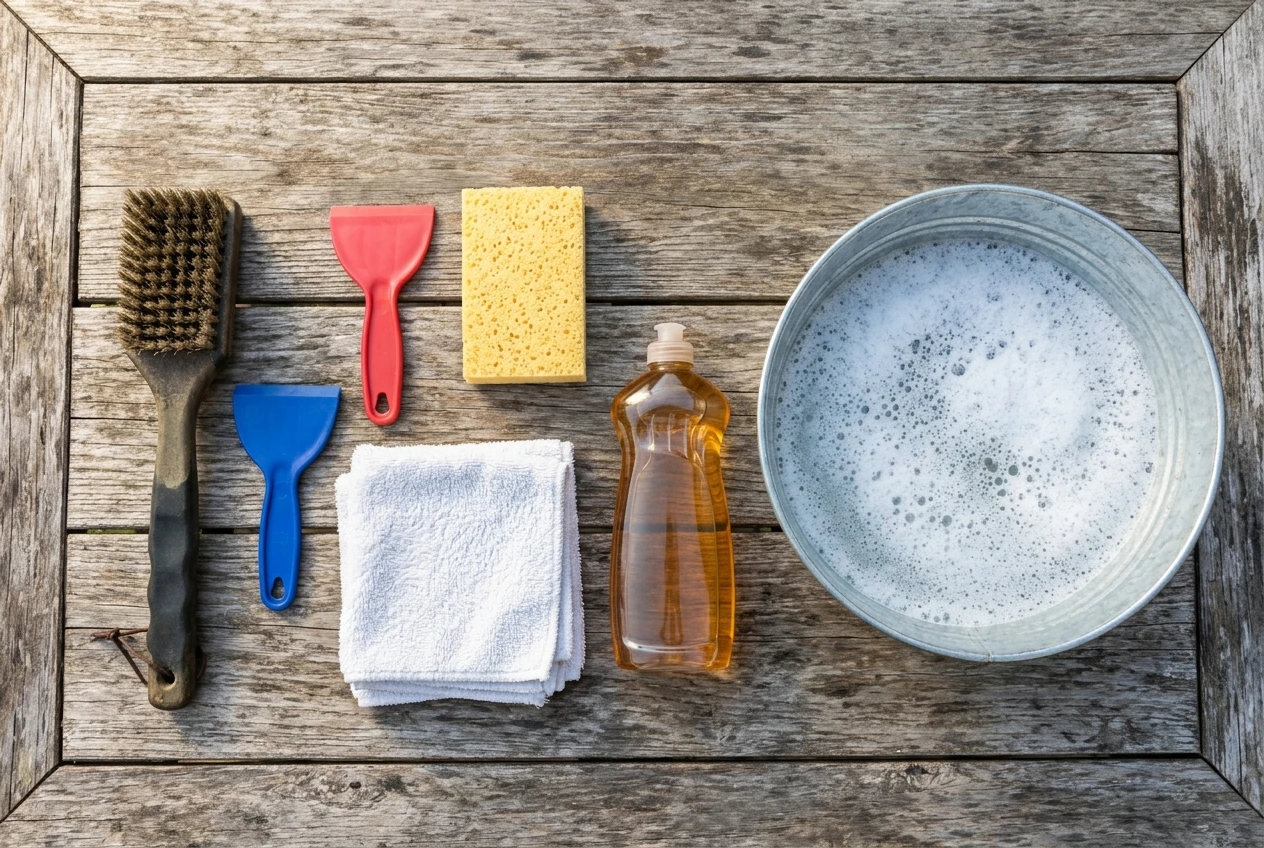
You do not need much. Most of this is already in a kitchen:
-
A grill brush, ideally one with nylon bristles or a scraper if your grates have a nonstick or porcelain coating
-
Dish soap and a bucket or basin of warm water
-
A sponge or non-scratch scrub pad
-
Soft cloths or microfiber towels, a few of them, so you always have a dry one
-
Paper towels for wiping up loose grease
-
A plastic scraper or old spatula for stuck-on residue
-
A grill cleaner spray, only if the manual says your finish can handle one
Skip steel wool and harsh oven cleaners unless the manual approves them. Both can strip coatings and dull the exterior finish. If you use a wire-bristle brush, check the grates and brush afterward, because loose bristles can end up stuck to the grate and then in food.
Set Up a Workspace
Work somewhere you can get water and grease on the ground without worry. A patio, a driveway or a spot on the lawn works well, and a layer of newspaper or an old tarp under your work area catches drips. Outdoors also lets you rinse grates with a hose, although a basin and a cloth work fine indoors at a utility sink.
Keep the grill body itself on a flat, stable surface while you work, and keep the plug end elevated or well away from where you are splashing.
Step-by-Step Cleaning Guide for Your Grill Grates
Clean grates matter for two reasons: food releases from them more easily, and they leave clearer sear marks. Burnt-on residue also tastes bitter and can transfer to the next thing you cook.
-
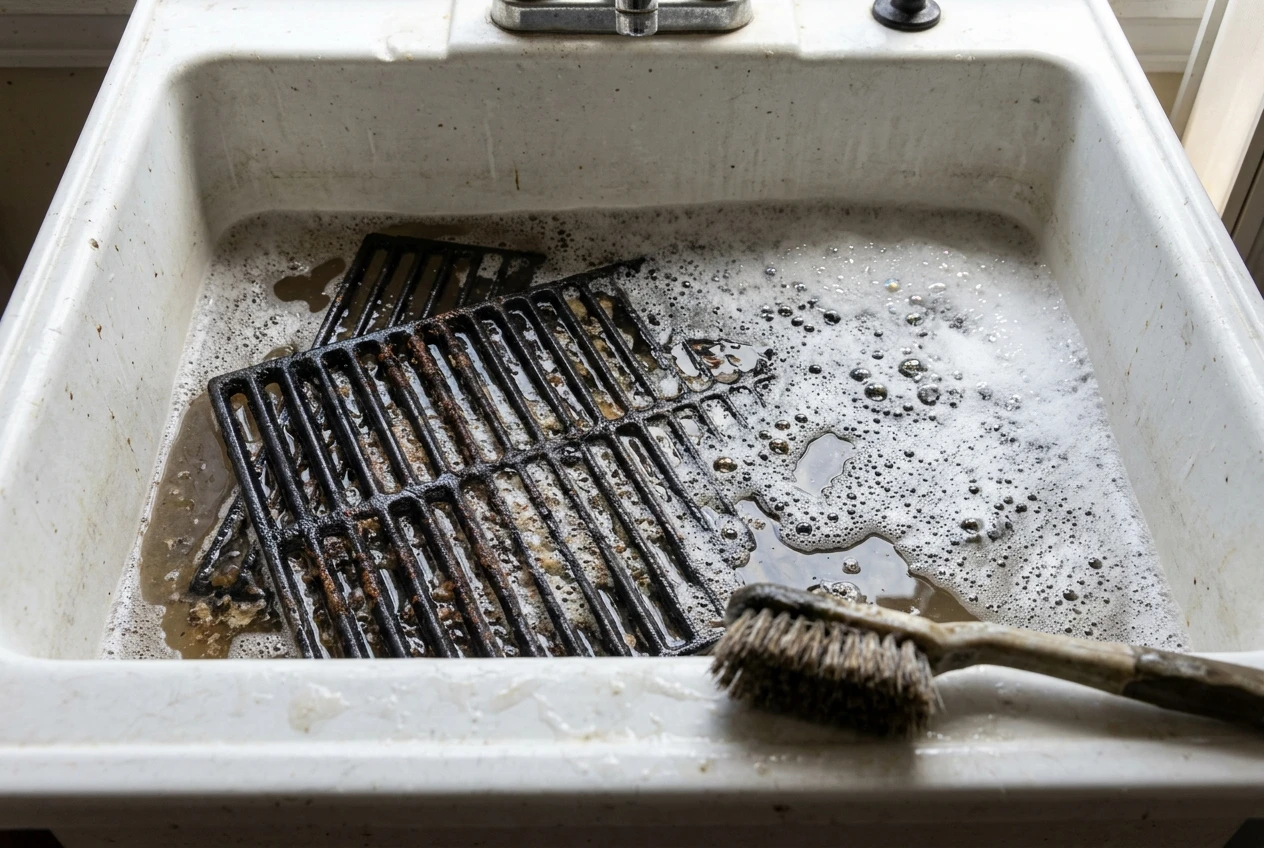
Lift out the grates. Once the grill is cool and unplugged, remove the grates according to your manual. Working on them away from the grill keeps water off the heating element.
-
Scrape off loose debris. Use the brush or a scraper to knock off charred bits while the grates are dry. This makes the soak work better.
-
Soak stubborn grease. Fill a basin or large sink with warm water and a few squirts of dish soap. Let the grates sit for about 20 to 30 minutes. The soak softens baked-on grease so you do not have to scrub as hard.
-
Scrub. Go over each grate with the brush or a non-scratch pad, working along the bars. Pay attention to the corners where grease collects.
-
Rinse well. Soap residue left on a grate can end up in your food, so rinse until the water runs clear.
-
Dry completely. Towel the grates off and let them air dry for a while before they go back. Damp grates can rust, particularly if the metal is bare or the coating is chipped.
Once the grates are dry, set them back in the grill and confirm they sit flat and fit snugly in their supports.
A Quicker Clean After Each Cook
You do not need a full soak every time. After you finish cooking, while the grill is still warm but safe to touch, brush the grates to clear food and grease, then wipe them with a damp cloth once they cool. Doing this keeps the heavy-duty cleaning down to a few times a season rather than every weekend.
Cleaning the Drip Tray and Cooking Box
Grease that runs off the food collects in the drip tray or catch pan, and any grease left there for a long time becomes harder to remove and is a source of smoke the next time you cook. Check your manual for how your model’s tray comes out.
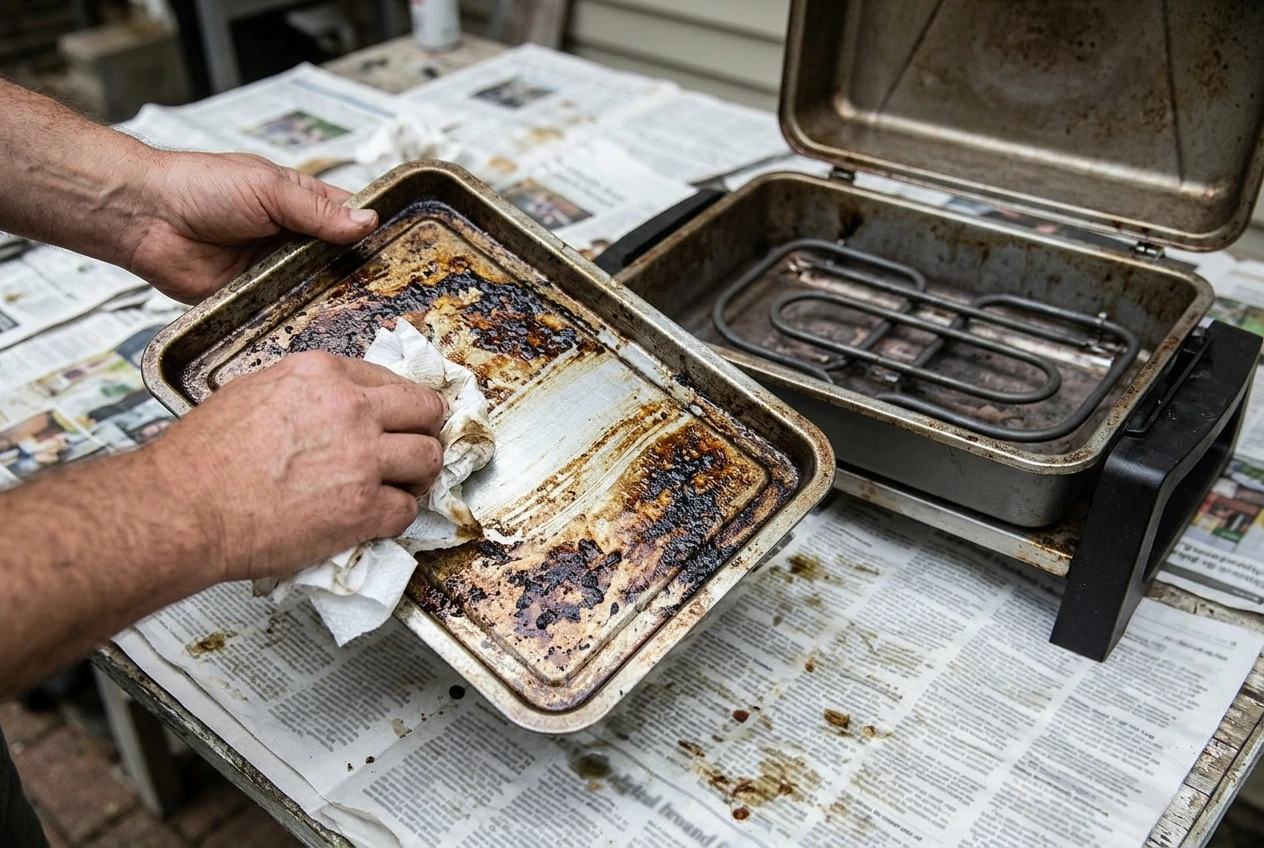
Tip the loose grease into a disposable container or wipe it out with paper towels, and do not pour it down a drain. Wash the tray with warm soapy water, rinse it and dry it before putting it back. Lining the tray with a disposable liner made for your model, if one exists, makes the job easier. Check the manufacturer’s recommendation before using one, since a liner that does not fit can block airflow.
For the inside of the cooking box, use a plastic scraper to loosen dried-on grease, then wipe with a cloth dampened in soapy water. Wring the cloth out well. You want it damp, not dripping, and you should work around the heating element rather than directly on it.
Cleaning the Electric Components and Exterior of the Grill
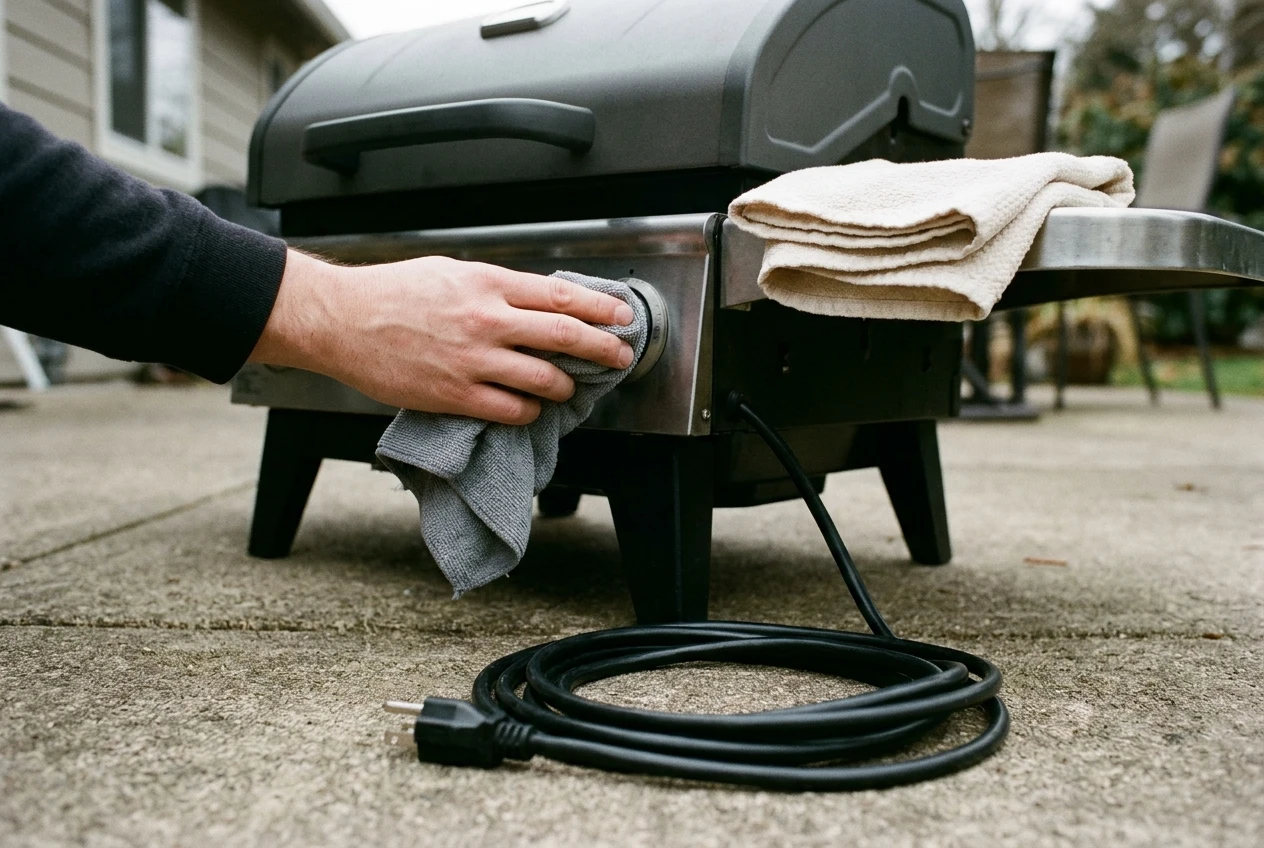
The heating element, the control and the power cord need the most care. Keep these dry.
-
Heating element: Check your manual for what it says about cleaning the element. In general, wipe it only when it is cool and unplugged, using a dry or very lightly damp cloth, and let it dry completely. Do not spray it, and never submerge it.
-
Control and dial: Wipe the surface with a barely damp cloth, then dry it with a second cloth. Keep water from running into the openings around the dial.
-
Power cord and plug: Wipe down the cord with a dry cloth and inspect it as you go. Look for cracks, exposed wire or a bent plug. A damaged cord should be replaced before the grill is used again, so contact the manufacturer or an authorized service provider rather than patching it.
For the exterior, a soft cloth with warm water and a little dish soap handles most grease and fingerprints. Use mild, non-abrasive cleaners, and test any new product on a small, hidden spot first. After cleaning, wipe the surfaces with a clean damp cloth to remove soap, then go over them with a soft dry cloth. Drying also prevents water spots and keeps the finish looking good.
Do not use a pressure washer on an electric grill. The force can push water into the control housing and other parts that are not meant to get wet.
Let Everything Dry Before You Plug In
Give the grill time to air dry after cleaning, especially around the control and the element. If you cleaned it outdoors, leave the lid open for a while so moisture can escape from the cooking box. Do not plug the grill in until every part you cleaned is dry to the touch.
When you are ready to use it again, preheat it for a few minutes with the lid closed. Any leftover soap or moisture burns off and you can check that the grill heats normally.
Maintenance Tips for Long-Lasting Grill Performance
Cleaning on a regular schedule takes less effort than a big scrub after months of buildup. A few habits help:
-
Brush the grates after most cooks. A few minutes of work after the grill cools keeps residue from hardening.
-
Empty the drip tray often. Check it before each cook, and empty it when grease has collected.
-
Inspect the cord and plug. Look them over each time you clean. Frayed wires, cracks or discoloration around the plug mean it is time to stop using the grill until it is repaired.
-
Use a cover. A cover that fits your model keeps out dust, pollen, rain and leaves, so each cleaning session is shorter. Make sure the grill is fully cool before you cover it.
-
Store it dry. If you put the grill away for the off-season, clean it first, make sure it is dry, and store it somewhere sheltered from rain and freezing weather. Coil the cord loosely instead of wrapping it tightly around the grill.
If you also own a gas grill, our guide on how to maintain a gas grill covers the upkeep that applies to that type, including the parts an electric model does not have.
Common Cleaning Mistakes to Avoid
-
Cleaning while the grill is plugged in. Always unplug first.
-
Getting the control or element wet. Use a damp cloth rather than running water near electrical parts.
-
Using abrasive tools on coated surfaces. Steel wool and harsh scrapers can scratch coatings and shorten their life.
-
Leaving grease in the tray. It builds up, smokes and is harder to clean later.
-
Skipping the manual. Your model may have a specific instruction that differs from general advice, and the manual is the safest guide.
A Simple Routine to Follow
After each cook, brush the grates once they have cooled, and check the drip tray. Every few cooks, wipe down the exterior and the inside of the cooking box. Several times a season, or whenever grease has built up, do the full clean: remove and soak the grates, wash the tray, wipe the box and exterior, and let everything dry before you plug in.
Regular, light cleaning keeps your grill heating evenly and your food tasting like food rather than old grease, so your next cookout starts with equipment that is ready to go.