
Ninja makes several outdoor electric cooking appliances that can smoke with wood pellets, and the tips below apply to that general style of cooking. Model details differ, such as pellet quantities, temperature ranges and cleaning steps, so check your manual for numbers specific to your unit. Where a tip depends on your model, the article says so.
The advice here covers what to cook first, how to choose and use pellets, how to get good results when grilling, and how to keep the unit clean. It is written for someone who has bought a Ninja smoker or is close to buying one.
What a Ninja Smoker Is Good At
Ninja’s outdoor smoker-grills are electric, so heat comes from a heating element and the pellets supply smoke flavor. That makes temperature easier to hold than in a charcoal setup, where you adjust vents and add fuel by hand. You set a temperature, and the unit keeps to it.
The same appliance usually does more than smoke. Depending on the model, it can grill, roast, bake, broil, air crisp or dehydrate. That means one unit can handle smoked ribs on Saturday and a weeknight tray of vegetables, with no separate smoker and grill.
The trade-off is that electric smokers produce a milder smoke flavor than a large offset smoker burning logs. Many people prefer that, especially for chicken, fish and vegetables. If you want a very heavy smoke character, you will work within the limits of what the unit’s pellet chamber and temperature range allow.
Getting Started with Ninja Smoking: Your First Cook
Start with chicken thighs, a whole chicken, salmon or sausages. These cook in a reasonable time, take smoke well, and tell you quickly whether your settings are right. Brisket and pork shoulder take many hours and are better saved for after you know how your unit behaves.
Before the first cook, read the manual’s start-up instructions. Many manufacturers recommend running a new appliance empty for a short time to burn off manufacturing residue, and the manual will say whether yours needs this and for how long. Wash any removable parts the way the manual describes.
Use a meat thermometer. The time on a recipe is an estimate, and the internal temperature is what tells you the food is done. These are the USDA’s safe minimum internal temperatures:
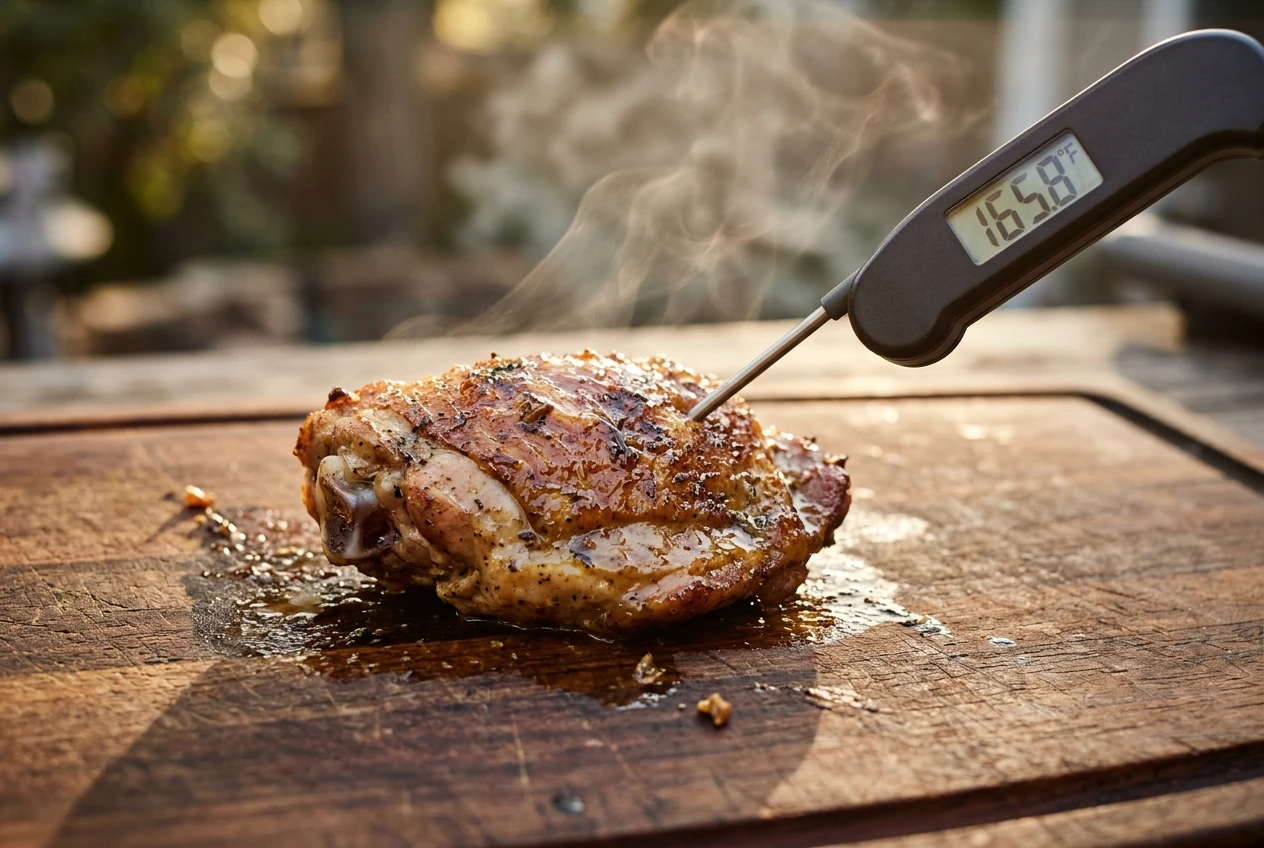
- Poultry, whole or pieces: 165°F
- Ground beef and pork: 160°F
- Pork chops and roasts, steaks and fish: 145°F (with a three-minute rest for the meat cuts)
Chicken smoked at around 225°F to 250°F stays moist and takes on smoke, though it can finish with soft skin at those temperatures. If you want crisper skin, raise the heat for the last stretch of the cook, or use the air crisp function if your model has one. Pull the chicken when the thickest part reaches 165°F.
Keep the smoke light
More smoke does not give better flavor. Heavy, constant smoke can leave meat tasting bitter or acrid, particularly on lean cuts like chicken breast and fish. A modest amount of smoke leaves the flavor of the food intact and adds a background note. If a first cook tastes too smoky, use fewer pellets or a milder wood next time.
Take notes
Write down the food, weight, temperature setting, pellet type, cook time and the result. Ninja smokers hold temperature well, but every cut of meat differs in thickness and fat. A short log after each cook shows you what to change, and within a handful of cooks you will have a set of settings that work for the things you cook most.
Mastering Woodfire Techniques: How Often Should You Add Pellets?
The answer depends on your model. Some Ninja units burn a small measured amount of pellets in a dedicated chamber to produce smoke, and the manual gives quantities and says when to refill. A full-size pellet grill, by contrast, feeds pellets continuously from a hopper. Do not apply one design’s habits to the other.
For that reason, follow your manual’s pellet amounts for the type of cook you are doing. If the manual says a fixed scoop produces smoke for a set period, a long cook may need a refill, and the manual will tell you when that is safe to do. Opening the lid frequently to check lets heat escape and lengthens the cook, so plan your refills rather than lifting the lid out of curiosity.
Two things are worth checking before every long cook:
- The pellet supply, so you do not run out partway through.
- The ash, since a buildup can restrict airflow and cause uneven heat.
Choosing pellets
Wood type changes the flavor, and these pairings are widely used:
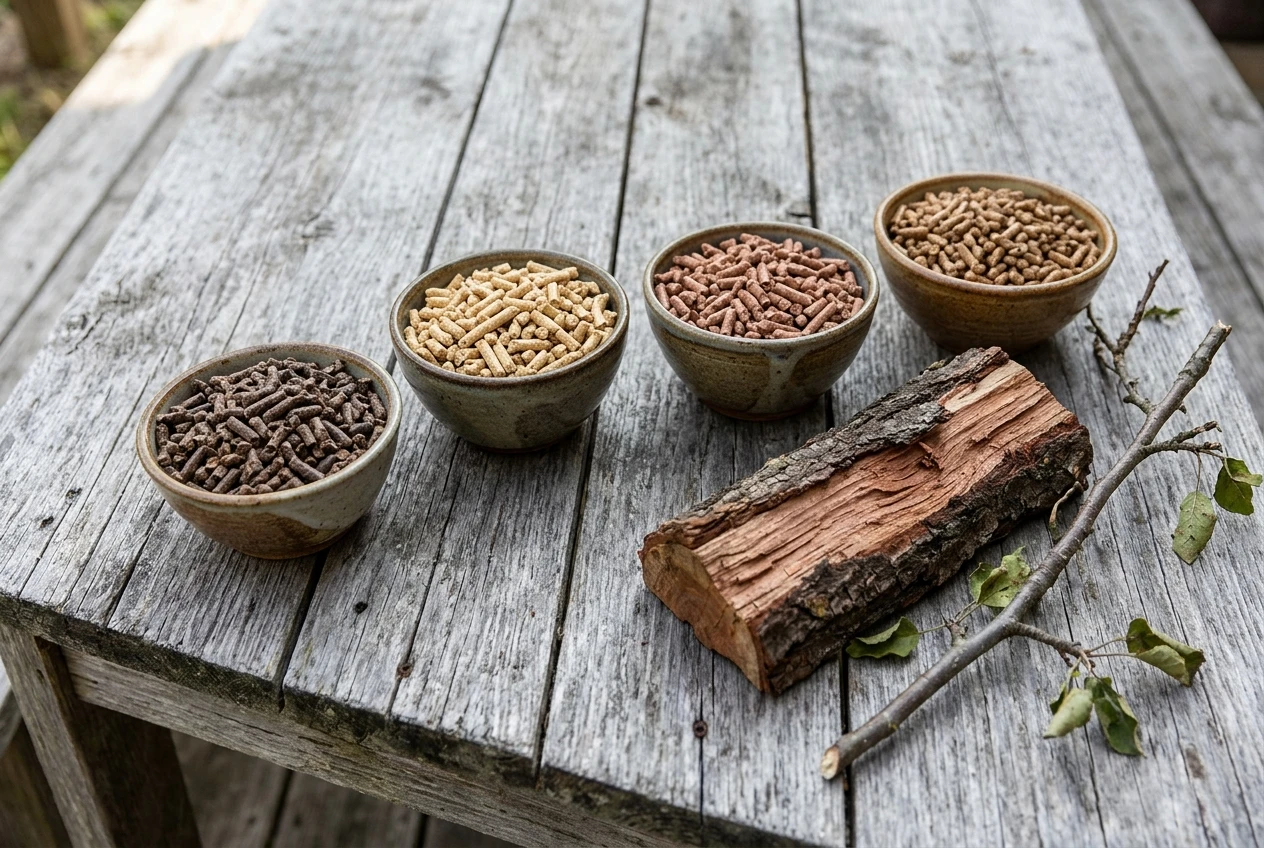
- Hickory and mesquite: strong, assertive smoke that suits beef, lamb and dark cuts of pork. Mesquite is the stronger of the two, so use it with restraint.
- Apple and cherry: milder and slightly sweet, a good match for chicken, pork and fish. Cherry also tends to give meat a reddish tint.
- Pecan and oak: in the middle, and easy to use across many foods.
- Blends: a mix of woods gives a balanced flavor, which is useful when you cook several things at once.
Use food-grade pellets made for cooking. Heating or fuel pellets can contain additives and are not safe for food. Keep opened bags sealed in a dry place, because damp pellets can crumble and burn unevenly.
Cuts that need a long cook
Brisket and pork shoulder are tough cuts that become tender only after hours of low heat. Both are done by feel more than by a fixed temperature. Pork shoulder for pulling is usually ready somewhere around 195°F to 205°F internally, when a probe slides in with little resistance. Brisket is judged the same way. Let long-cooked cuts rest, wrapped and out of the heat, before slicing or pulling, so the juices settle back into the meat.
Grilling Perfection: Top Tips for Using the Ninja Grill
If your Ninja has a grill function, preheat it fully before the food goes on. Most manuals specify a preheat time, and the unit often signals when it is ready. A properly heated grate sears the surface, gives clean grill marks and stops food from sticking.
Match the heat to the food:
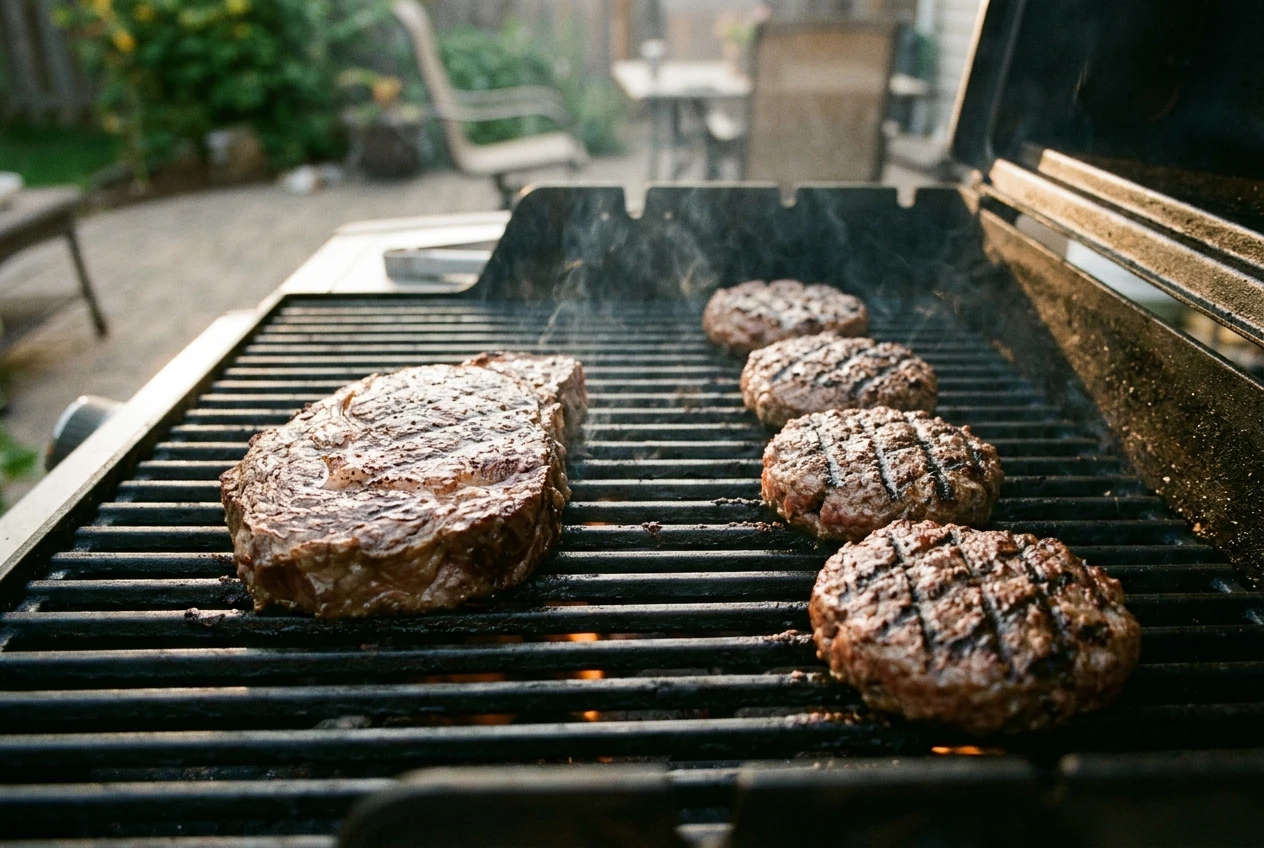
- Steaks, burgers and chops: high heat for a browned crust, then check the internal temperature.
- Chicken pieces: medium heat, so the outside does not burn before the inside reaches 165°F.
- Fish and shrimp: medium to medium-high heat for short cooks. Fish is done when it flakes easily.
- Vegetables: medium heat, cut into pieces of similar thickness so they cook at the same rate.
Habits that improve results
Do not overcrowd the grate. Packed food traps steam, browns poorly and cooks unevenly. Leave space between pieces.
Leave food alone until it releases from the grate. Food that is ready to turn lifts easily, and food that tears or sticks needs another minute. Constant flipping prevents a crust from forming.
Pat meat dry before cooking. Surface moisture turns to steam and slows browning. A light coat of oil on the food, not the grate, also helps prevent sticking.
Rest meat after grilling. Five minutes for steaks and chops lets the juices redistribute, so they stay in the meat rather than running onto the board.
Beyond the main course
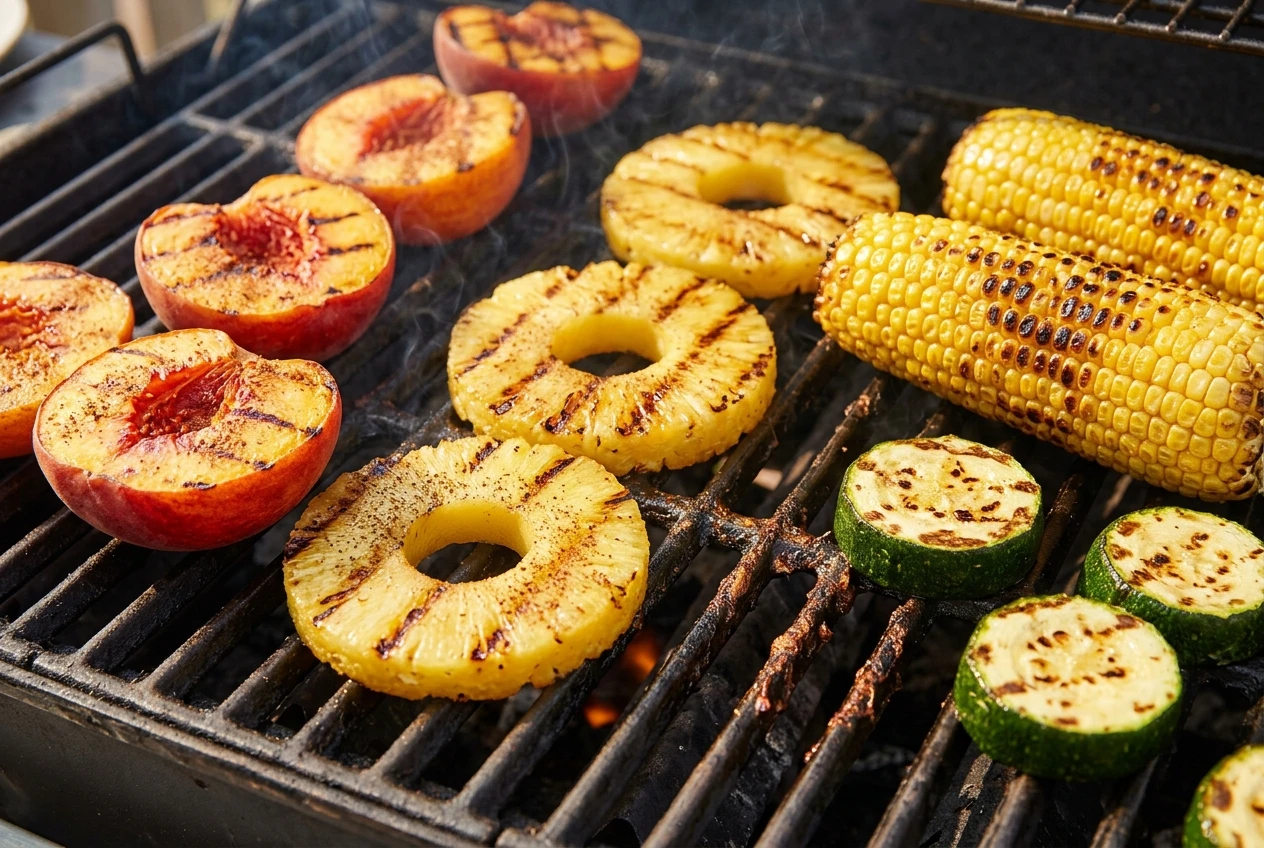
The grill works well for sides. Corn on the cob, bell peppers, zucchini, sliced onions and flatbreads all cook quickly. Fruit makes a simple dessert: peach halves or pineapple rings, brushed lightly with oil and finished with cinnamon, are ready in a few minutes once the grate is hot.
Cleaning and Maintenance
A clean unit cooks better and lasts longer. Grease and old residue can smoke, produce off flavors and, in the worst case, catch fire.
After each cook, let the unit cool, then:
- Empty the ash and any leftover pellets from the chamber, following your manual.
- Scrub the grate with a brush suited to its coating. Using the wrong tool can damage nonstick surfaces.
- Empty and wipe the grease tray or drip pan.
- Wipe the inside of the lid, where grease collects.
Check the manual before washing any part in a dishwasher or soaking it, since parts differ by model. Never put water near electrical components.
Common Mistakes to Avoid
- Skipping the thermometer. Color and cook time are unreliable guides. Check the internal temperature.
- Using too much smoke. If food tastes bitter, reduce the pellets or switch to a milder wood.
- Opening the lid too often. Each look lowers the temperature and adds time.
- Ignoring the manual’s pellet instructions. Quantities and refill timing are model-specific.
- Cooking straight from the fridge. Large cuts that are very cold in the center cook unevenly, so let them sit out briefly, and no longer than safe food handling allows.
- Neglecting cleaning. Ash and grease build up faster than most people expect.
Final Thoughts
A Ninja smoker rewards a simple routine: read the manual, start with forgiving foods, use a thermometer, keep smoke light, and clean the unit after each cook. Keep notes on every cook. After a few sessions you will know your unit’s behavior well enough to move on to brisket, pork shoulder and your own pellet blends.